OpenVPN Installation Guide
For remote access to internal services hosted at the Institute for Advanced Study (IAS), we utilize the OpenVPN software. This software allows authenticated users to create an encrypted tunnel or Virtual Private Network (VPN) between their remote device and our campus. This has a dual purpose of protecting your traffic from malicious networks and gaining you secure access to campus resources. This access includes services like home directories, the Princeton University Library Gateway (PULIBGW), and more.
Remote access requires the use of Multi-Factor Authentication. If you haven't set this up for your IAS account, please see our information page or contact the Computing Helpdesk for DuoSecurity before continuing.
The installation and use of OpenVPN will require your IAS Credentials. Make sure you fill in these fields correctly and do not include the domain of @ias.edu in your username.
This page links to installation guides for various devices and operating systems. Should you run into any trouble, please contact the Computing Helpdesk for more information.
OpenVPN Installation Guide
.pdf OpenVPN instructions for macos
- Open your preferred web-browser and search for openvpn.ias.edu
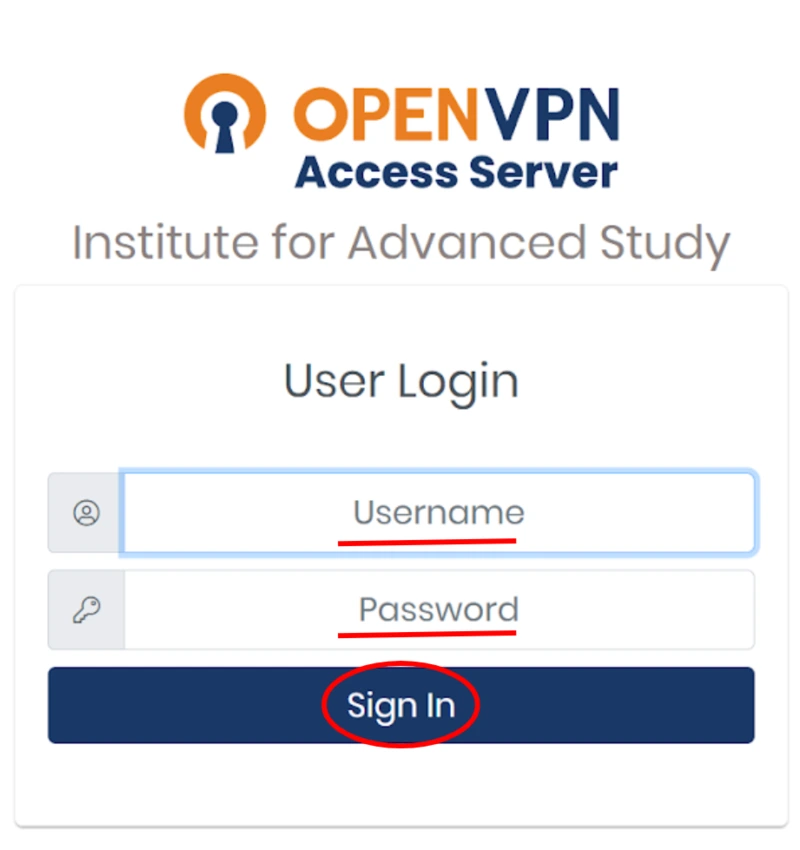
Enter your IAS Credentials and click Sign In
Image
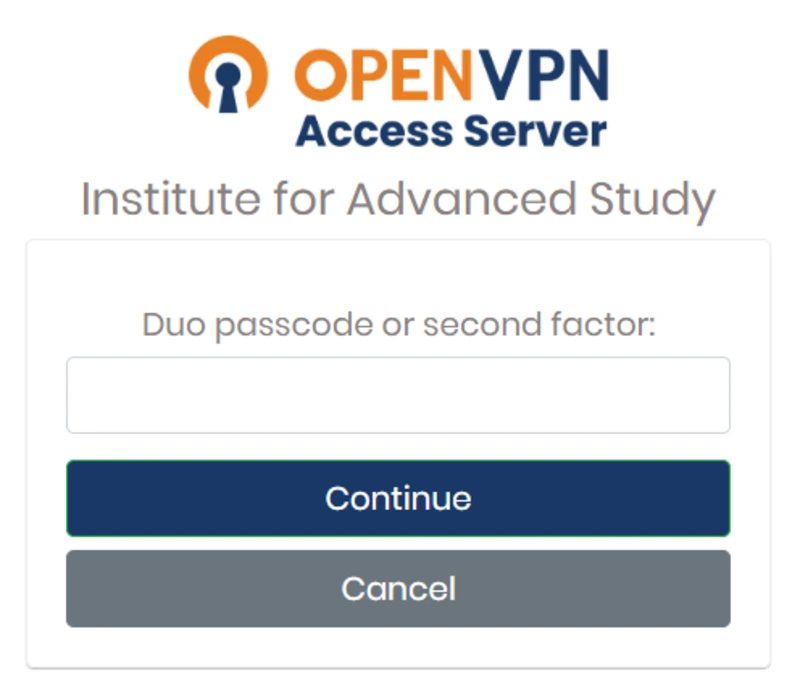
- Open your Duo app and select Show Password
Enter the single-use Duo password and click Continue
Image
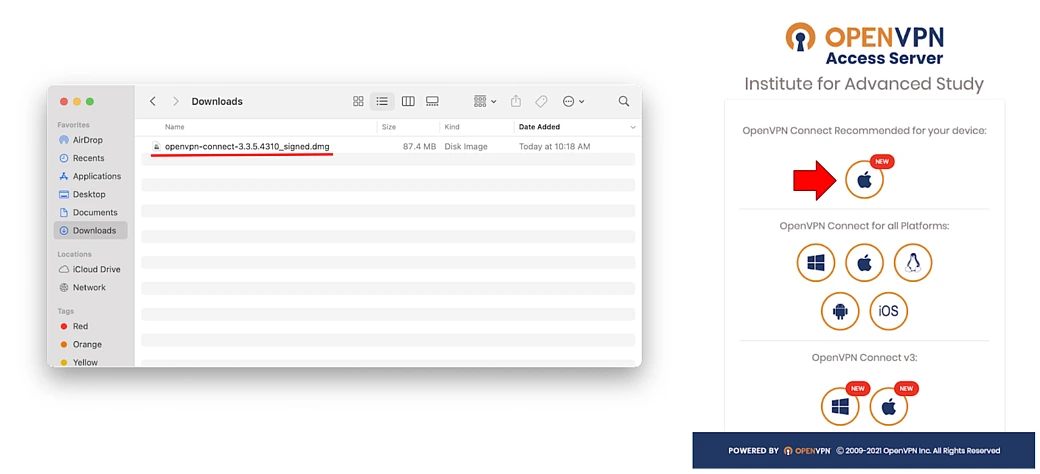
- Select MacOS as your platform to download the OpenVPN launcher, select Allow
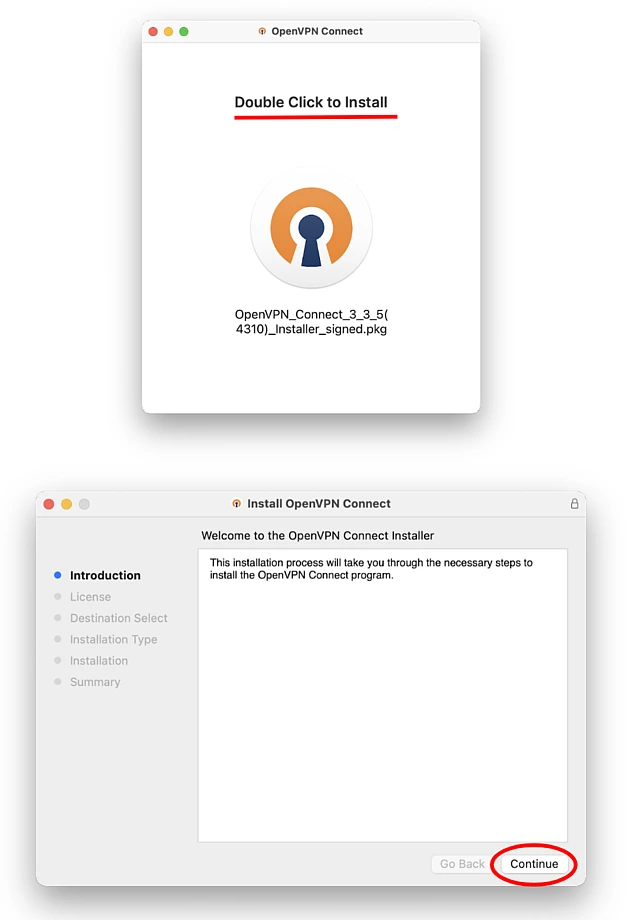
Open the downloaded file by navigating to your downloads folder and selecting the downloaded file
Follow the instructions on your screen and Continue through the installation process
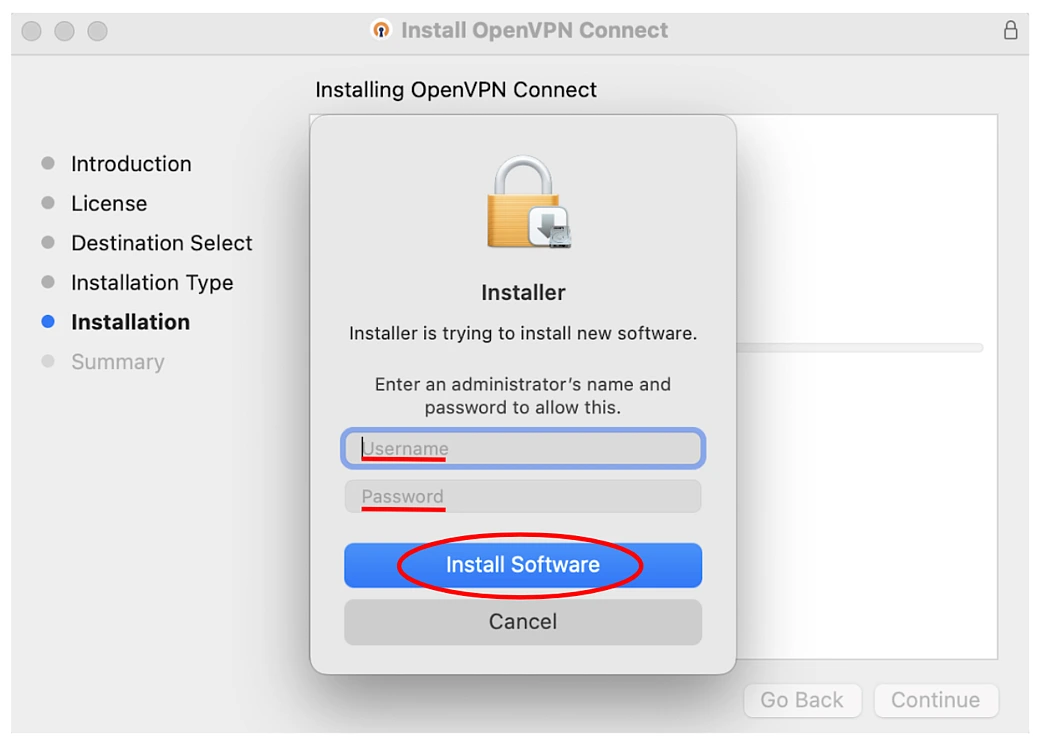
You may need to sign in as an administrator to allow the installation. If so, enter your Username and Password and hit Install Software
Navigate to your Applications folder and double-click the OpenVPN Connect application
*Do not select the OpenVPN Connect folder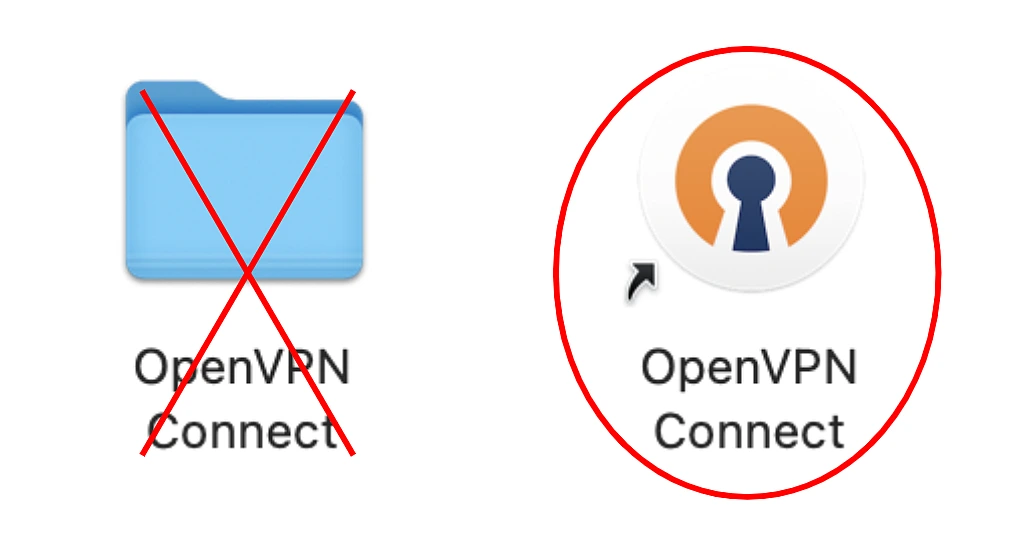
- Click through the pop-ups and instructions on your screen
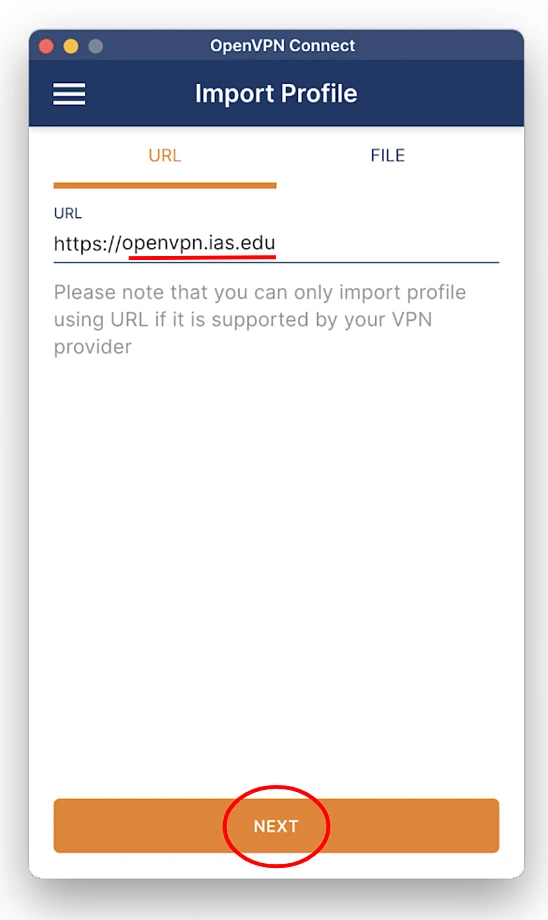
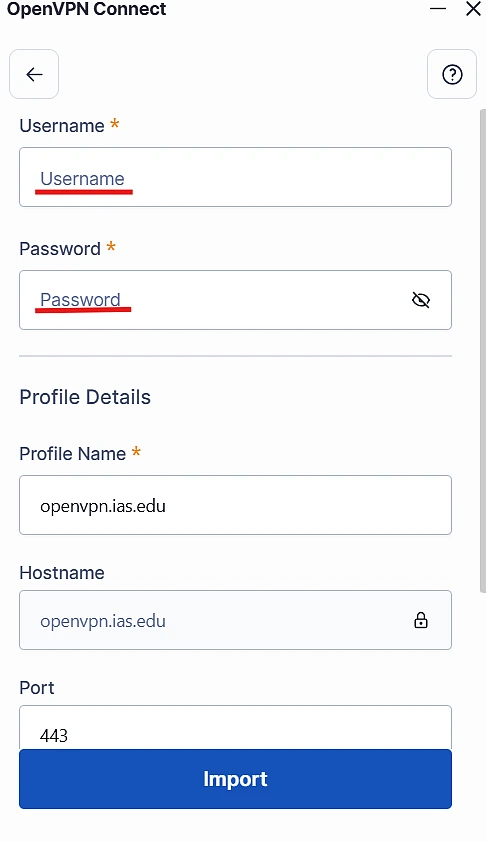
Enter openvpn.ias.edu as the URL and select Next
Enter your IAS credentials under Username and Password, select Import

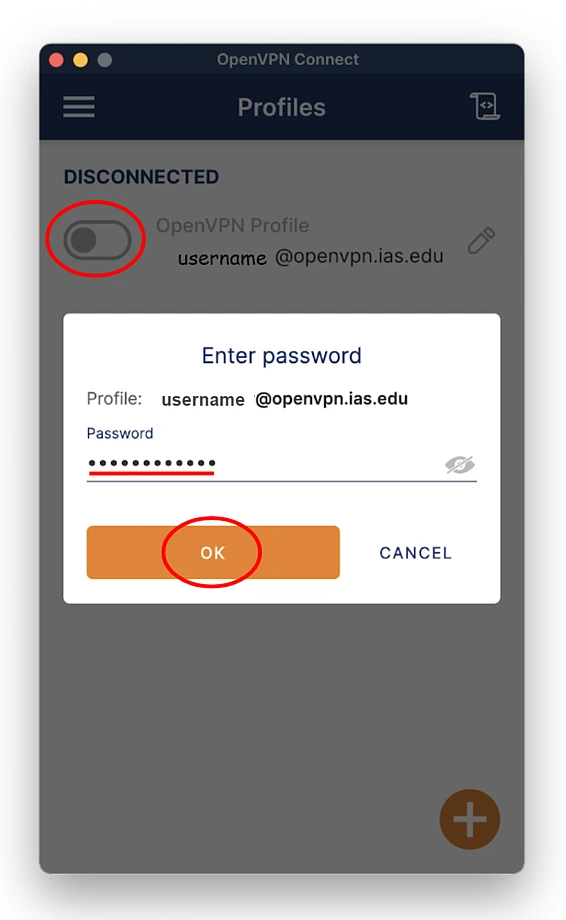
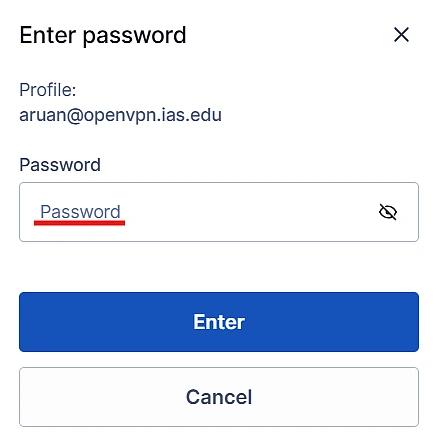
- Click on the OpenVPN Profile bar to connect to the VPN
Enter your IAS Password and select OK
- Enter your Duo passkey following the same process as in steps 3 and 4
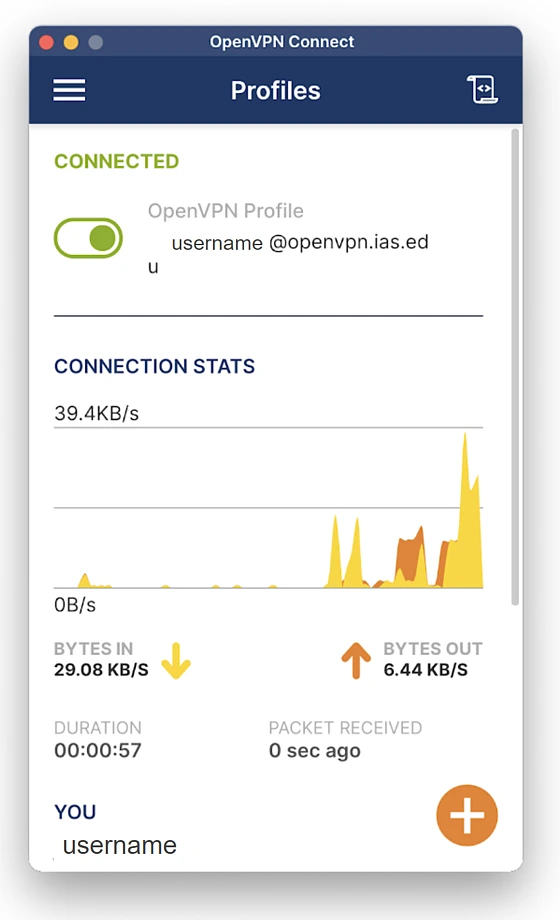
- Congrats! You are now connected to the IAS OpenVPN
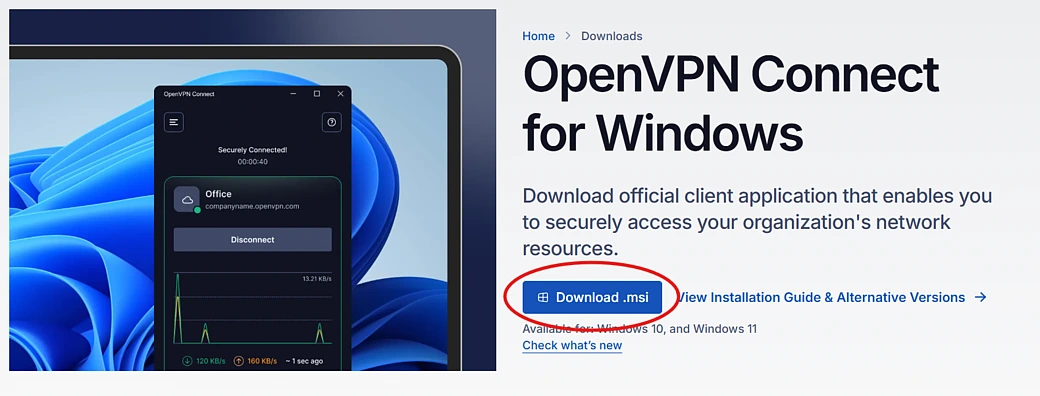
- Open your preferred web-browser and search for openvpn.net/client/
Click the blue Download .msi button
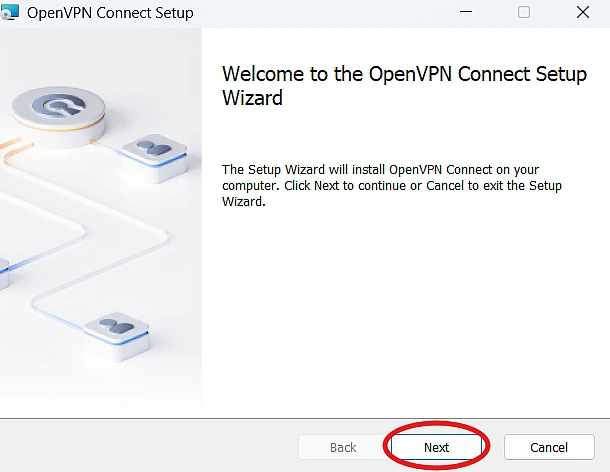
Navigate to the file that was just installed. This will usually be in your Downloads folder

Run the program by double clicking it. You will be shown a Setup Wizard which will help to install OpenVPN. Hit Next to proceed
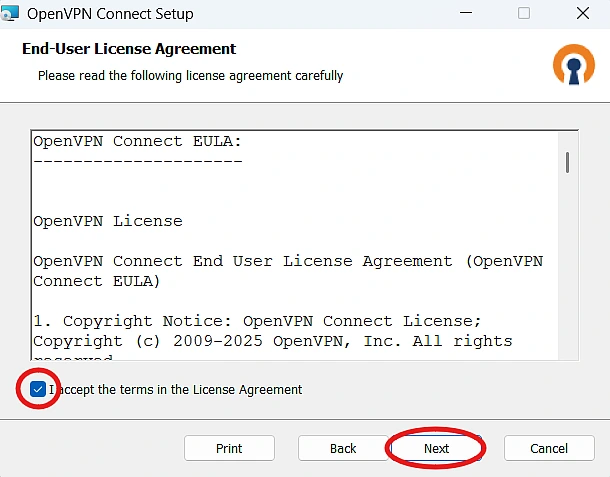
Accept the End User License Agreement (EULA)
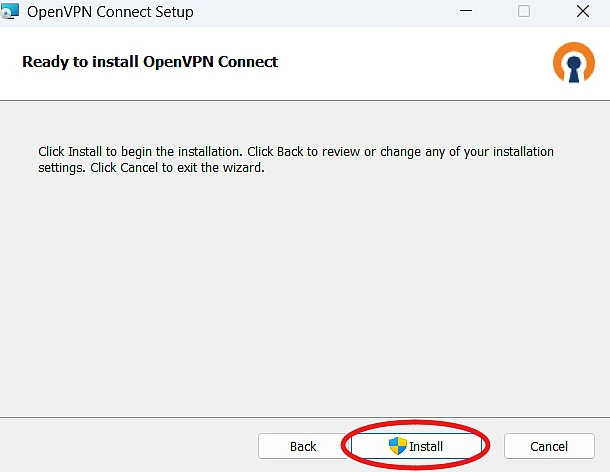
Click Install. This will require administrative privileges
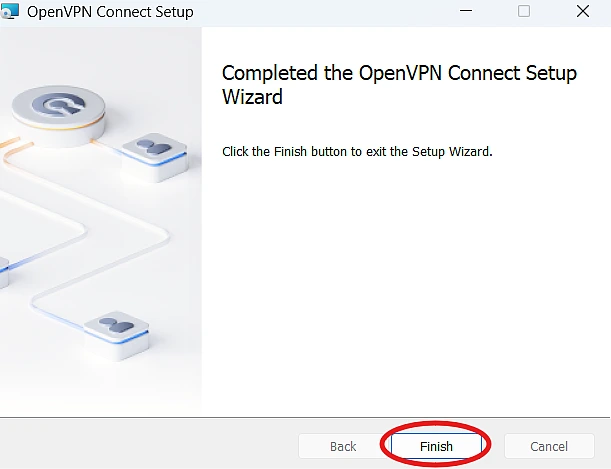
Click Finish
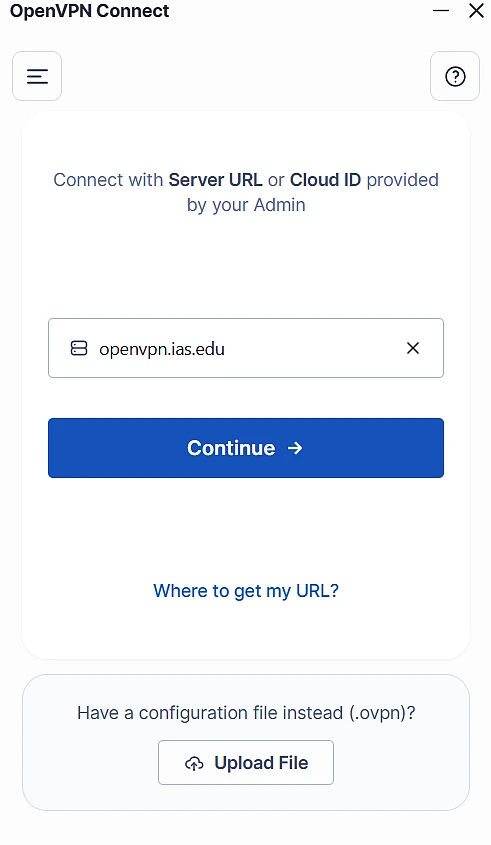
- Open the OpenVPN application
Enter in openvpn.ias.edu for the Server URL
Enter in your IAS credentials
Use Duo to verify your identity
Hit connect and enter in your IAS password. This will have to be done whenever you attempt to connect to the VPN
- Congratulations! You are now connected to the IAS OpenVPN
Command Line Configurations
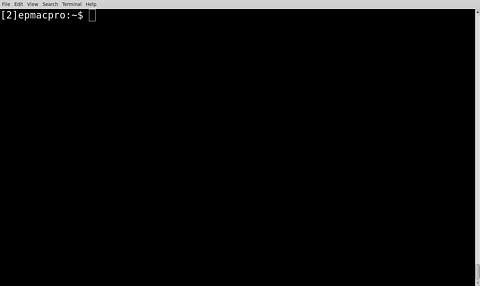
Open a terminal.
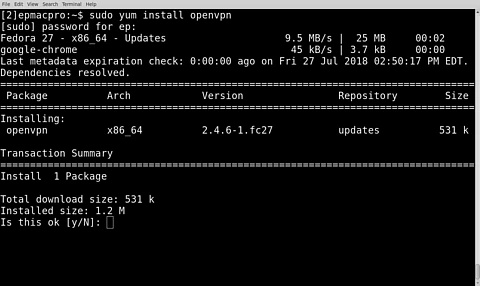
- Install the OpenVPN client. For RedHat-based systems (CentOS, Springdale Linux, Fedora), type sudo yum install openvpn.
You will be asked to verify the download: type Y, and press Enter/Return.
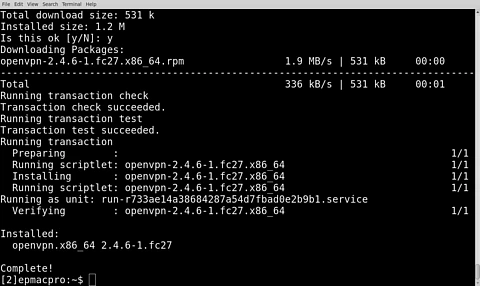
You will see a verification of the package you installed along with a message telling you the download is complete.
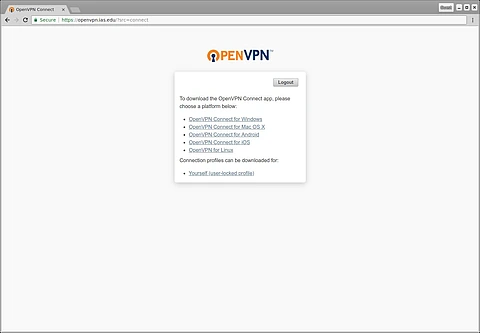
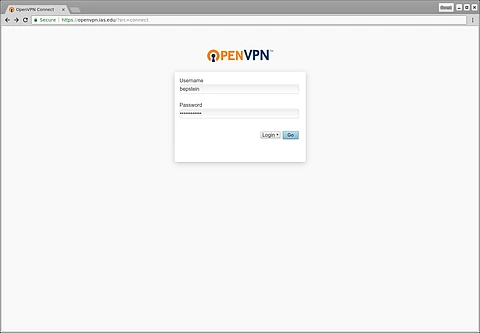
- In your browser, navigate to openvpn.ias.edu.
Enter your IAS credentials and then press Go.

Click on Yourself (user-locked profile) to download your OpenVPN profile. Make sure this download goes into your Download folder. This will be the default download location unless you have changed it.
In your terminal type the following command (all Linux variants):
sudo openvpn --config Downloads/client.ovpn --auth-retry interact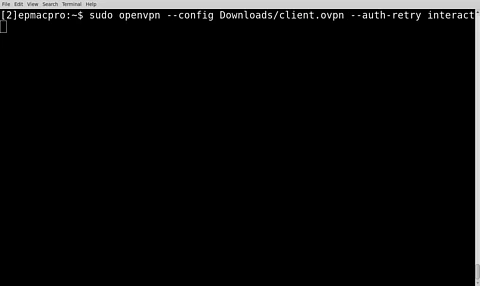
You will be prompted to enter your IAS credentials, enter your credentials then press Enter to proceed.
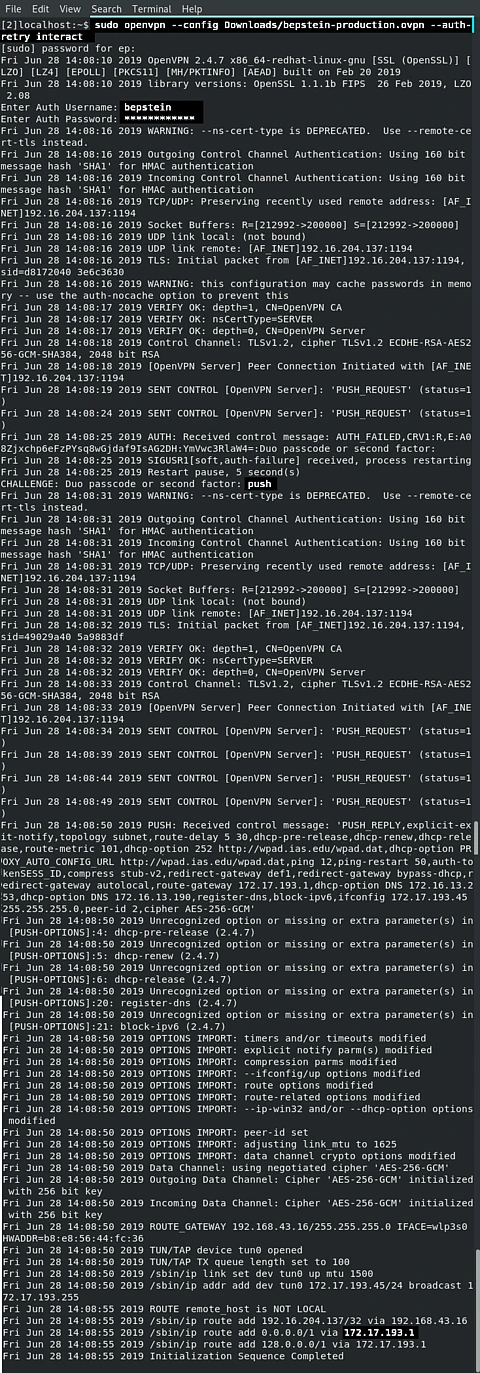
- Press CTRL-C to exit.
- You should also see your new IP address if you run ip addr or ifconfig in another terminal window.
Network Manager Configuration:
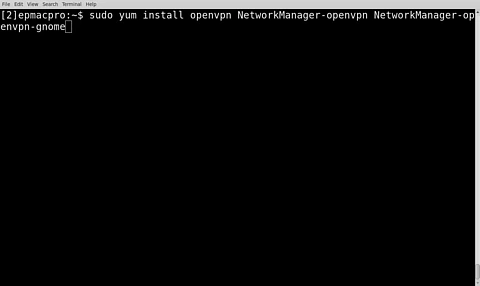
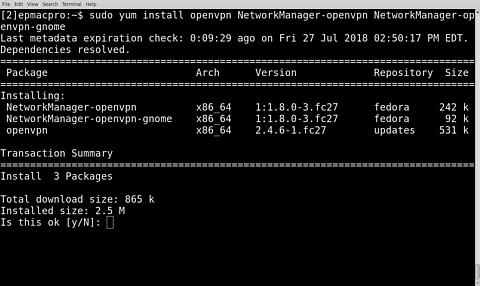
Open a terminal and install the Network Manager plugins for OpenVPN and Gnome. For RedHat based system, type sudo yum install openvpn NetworkManager-openvpn NetworkManager-openvpn-gnome.
You will be asked to allow the download, type Y then press Enter/Return.
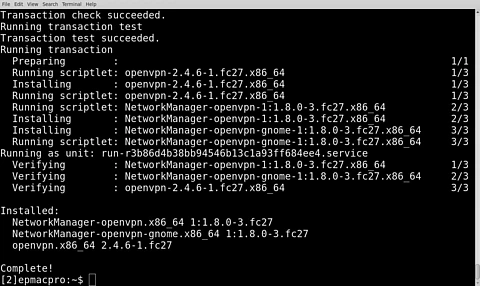
When the installation is complete, you will see the packages you installed along with a verification that the download was completed.
- In your browser, navigate to openvpn.ias.edu.
Enter your IAS credentials and press Go.
Click Yourself (user-locked profile).

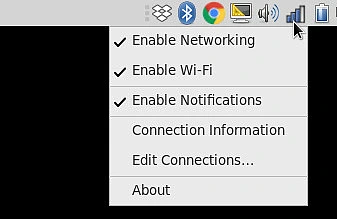
At the top right of your desktop, click on the internet options symbol and then click Edit Connections....
In the bottom-left of the pop-up window, click the + symbol to add a connection.
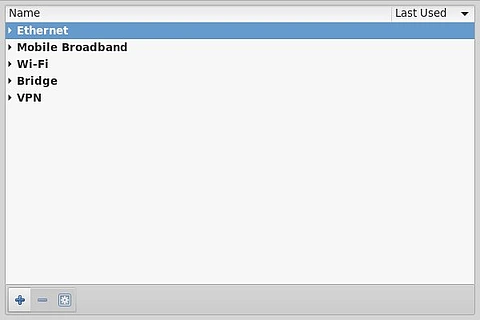
In the Choose a Connection Type window, open the drop-down menu and select Import a saved VPN configuration... then press Create....

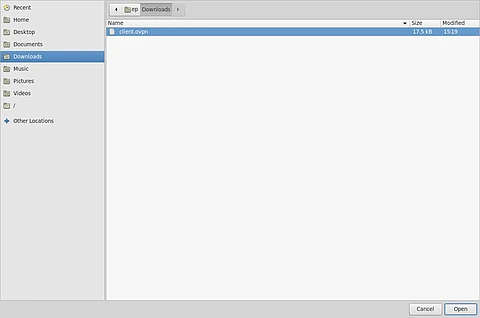
In your file manager, navigate to your default download location (usually Downloads), and select the client.ovpn file.
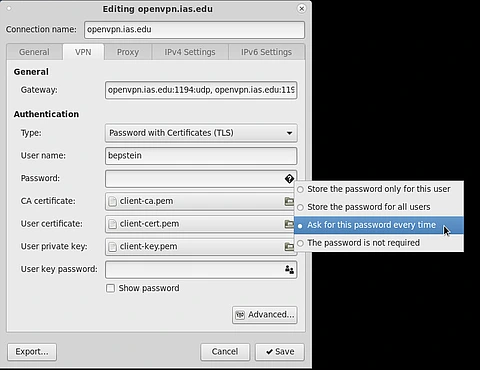
At the top of the new window, change the connection name to openvpn.ias.edu.
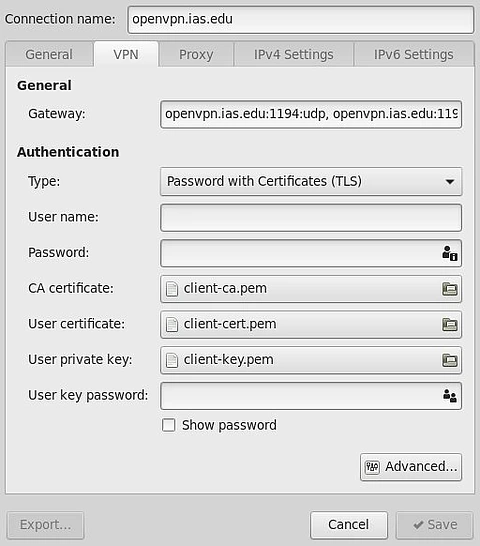
- Enter your IAS username in the Username box.
Click on the question mark in the password box, check Ask for this password every time then click Save.
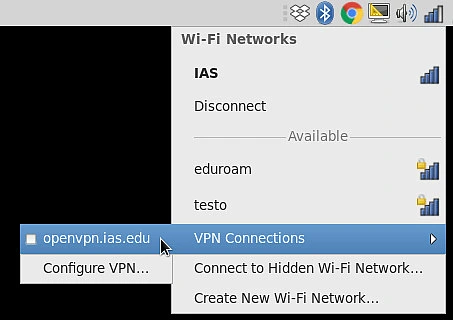
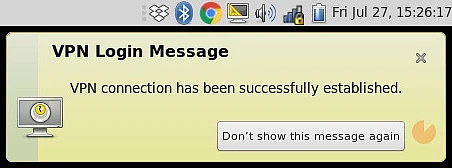
In the Internet settings, under VPN Connections click on openvpn.ias.edu. It will ask you for your user credentials.
.PDF openvpn instructions for ios
- Open the App Store and search for OpenVPN Connect
Click “Get” and follow the instructions on your screen
This will download OpenVPN Connect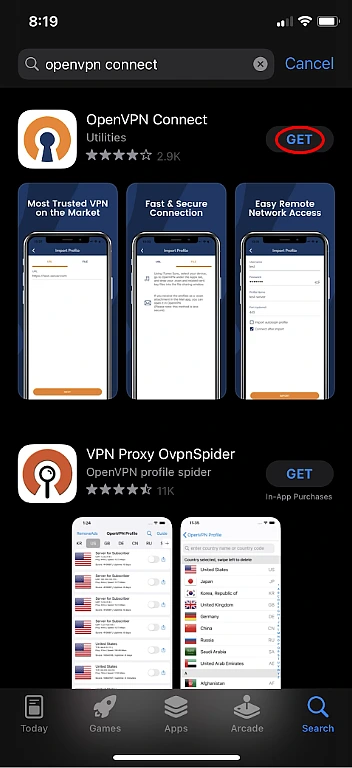
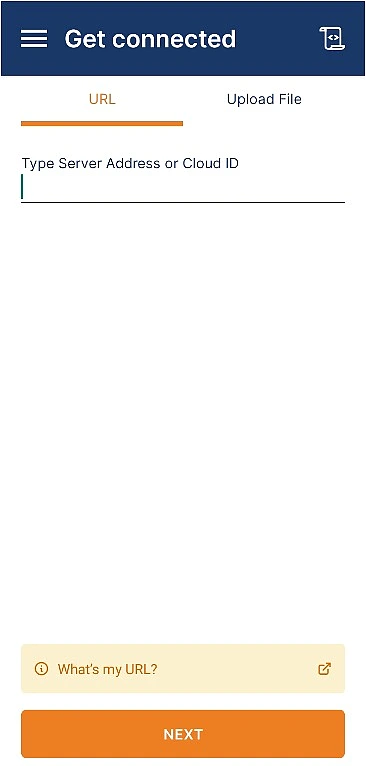
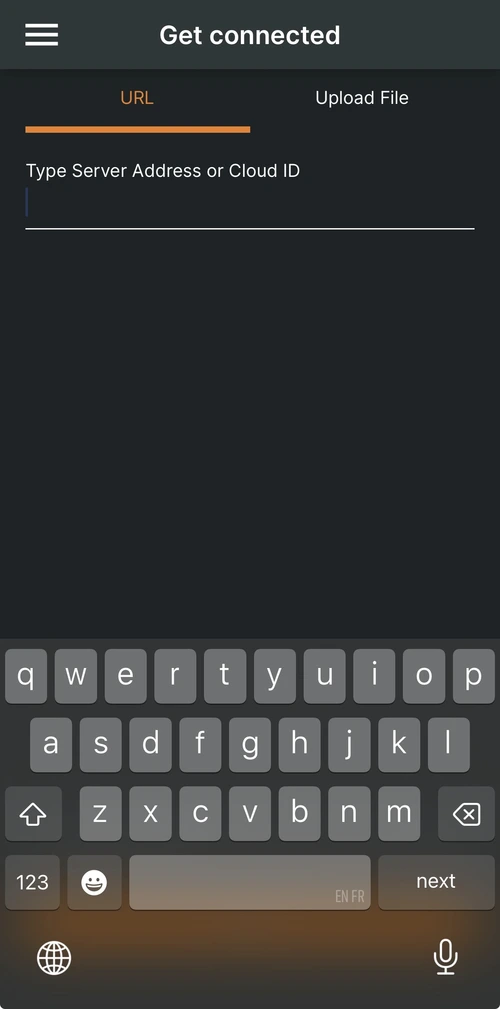
- Once OpenVPN Connect is installed, open it
Type in openvpn.ias.edu under “URL” and next to “https://”
Click “NextImage
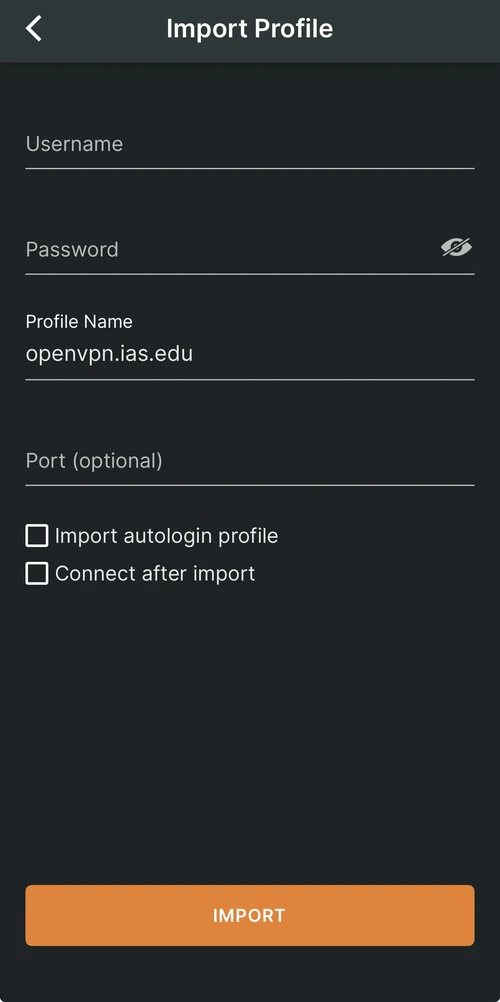
Use your IAS credentials to fill out the username and password
Click importImage
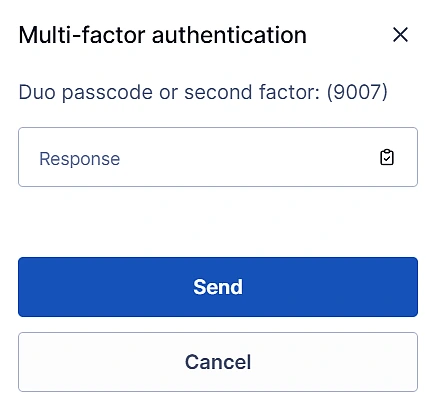
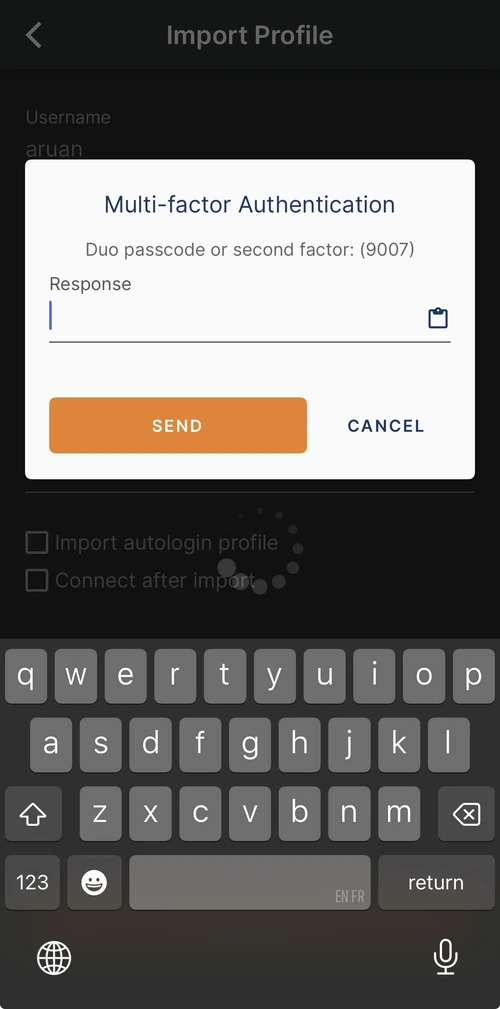
- This will open a pop-up asking for your Duo passcode
Exit the OpenVPN Connect app and open DUO Mobile - Under your IAS account, click “Show” passcode
Click “Copy” passcode Reopen OpenVPN Connect and paste the passcode
Click “Send”Image
“Allow” OpenVPN to add VPN Configurations
This may open your Settings app
Follow the instructions on your screen
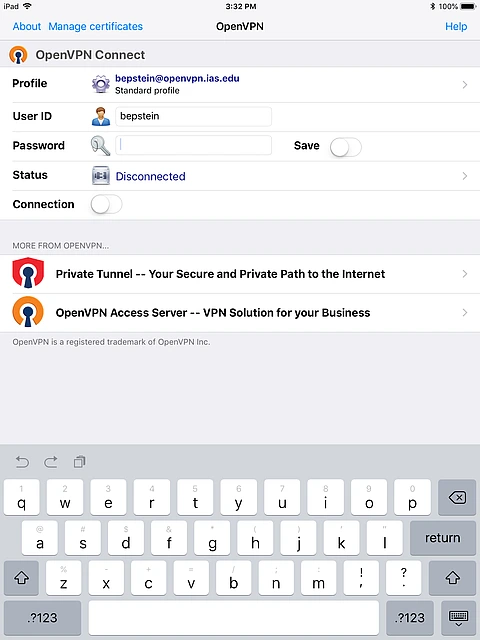
- Click on the OpenVPN Profile bar to connect to the VPN
Enter your IAS Password and select OK
- Enter your Duo passkey following the same process as in steps 3 and 4
Congrats! You are now connected to the IAS OpenVPN
.pdf OpenVPN instructions for Android
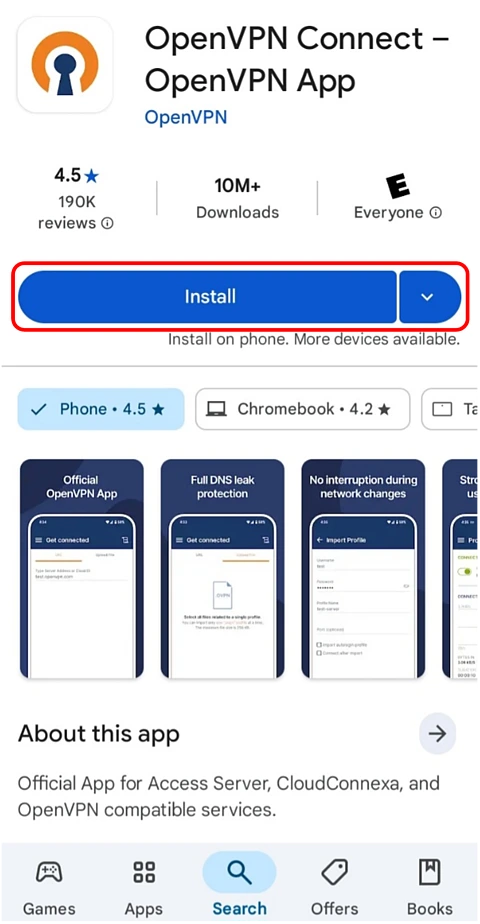
- Install the OpenVPN app from the Play Store.
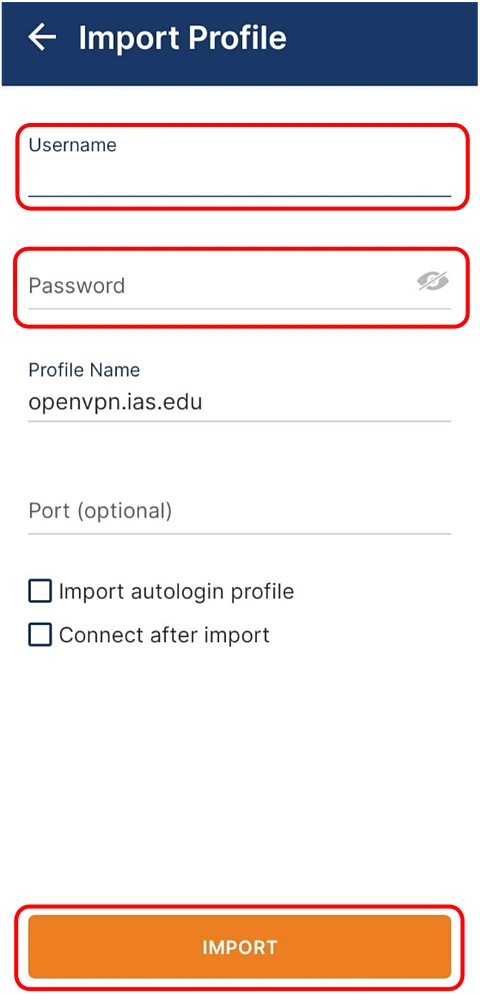
2. Input the URL for our VPN: openvpn.ias.edu and click the “Next” button.

3. Enter your IAS username (without @ias.edu) and your password, and hit Import. (You do not have to type anything in “Port” or check either of the boxes.)
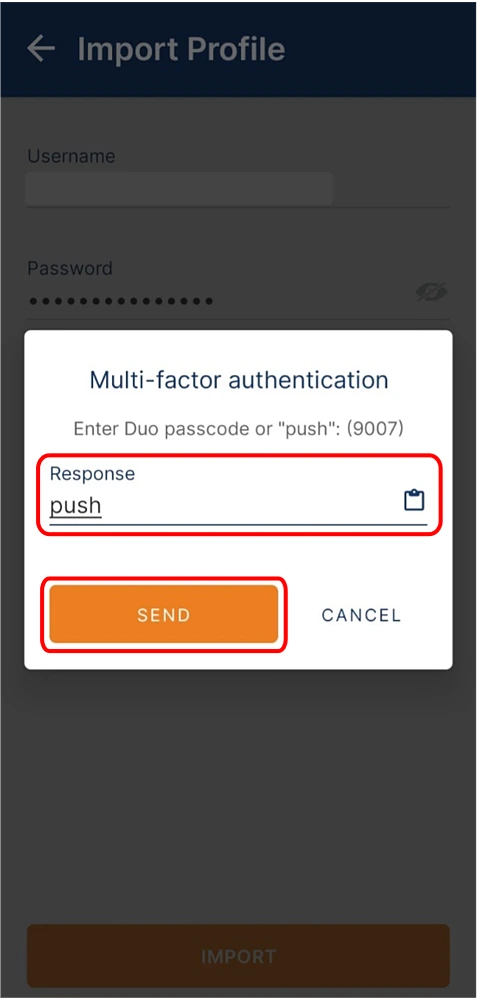
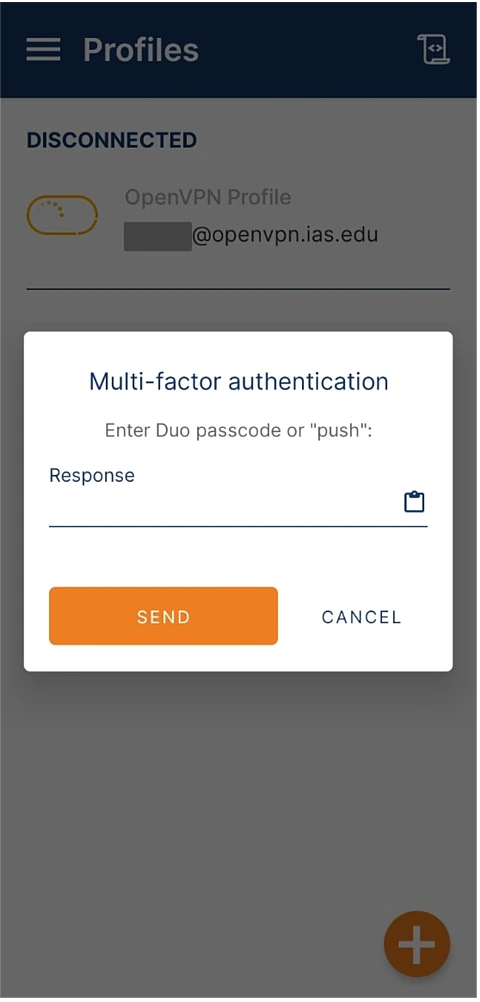
4. A box will pop up, prompting you to enter a passcode or type “push.” Make sure you have Duo installed on your device and set up with the IAS. Then type “push” in the box and click the “Send” button.
You should get a notification on Duo. Go to the Duo app and select the “approve” button.
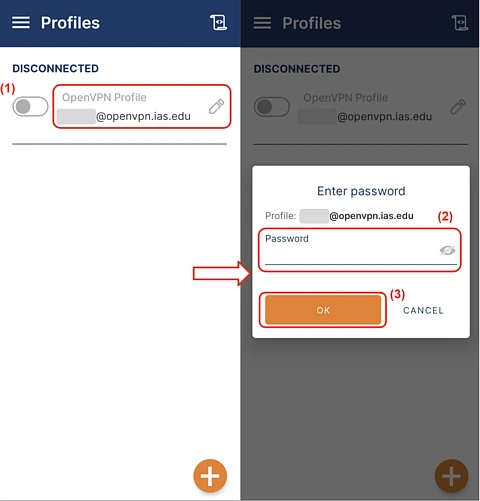
5. You will then be returned to the main screen of the OpenVPN app, listing your new profile. Click the profile, enter your password, and select the "OK" button.
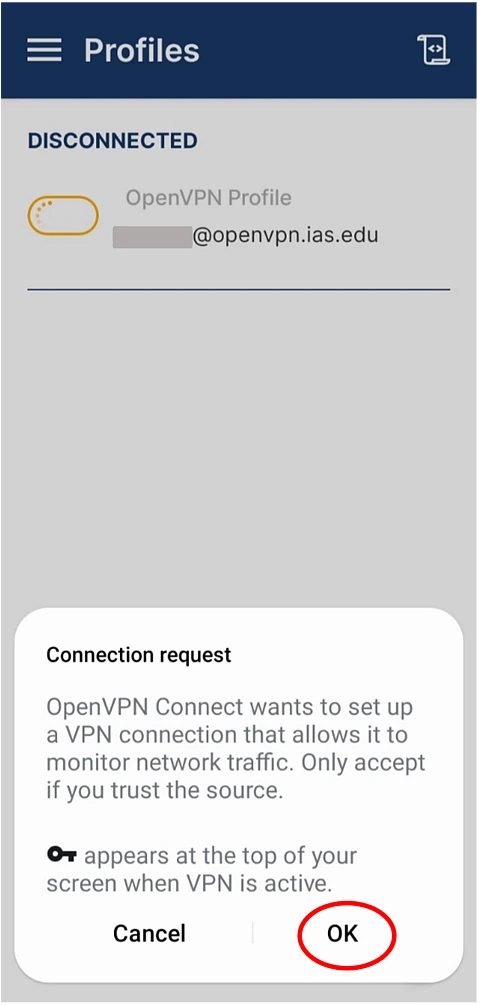
6. A connection request will pop up. Select the “Ok” button.
7. If a pop-up appears asking for a Duo passcode or “push,” follow the instructions in step 4.
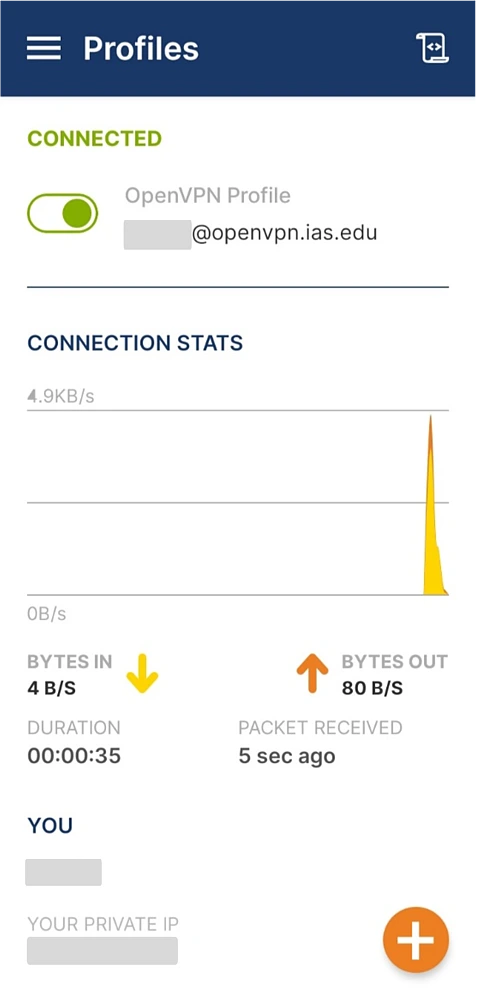
8. OpenVPN is now set up and you are connected.
OpenVPN Profile Removal
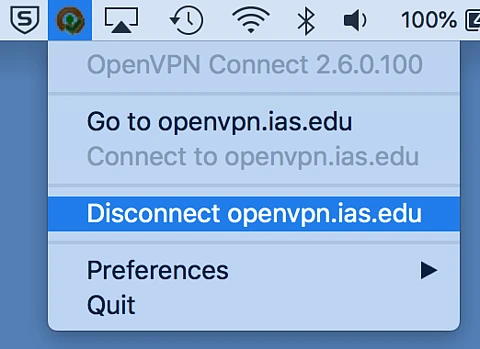
Ensure you are not connected to the VPN

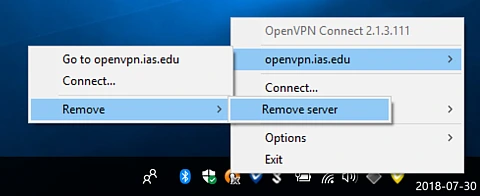
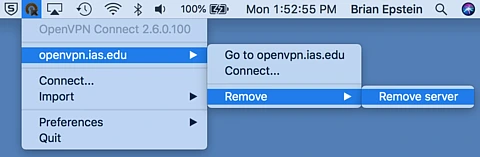
Remove the profile
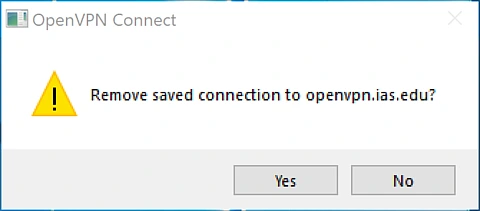
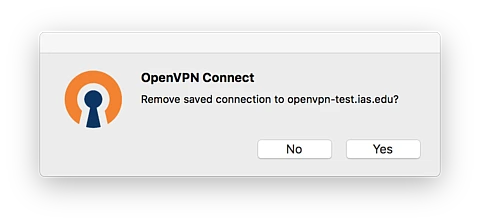
Confirm the removal
Ensure you are not connected to the VPN
Remove the profile
Confirm the removal
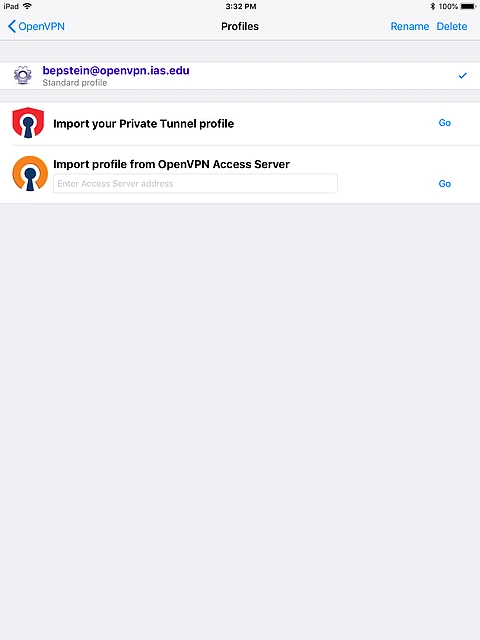
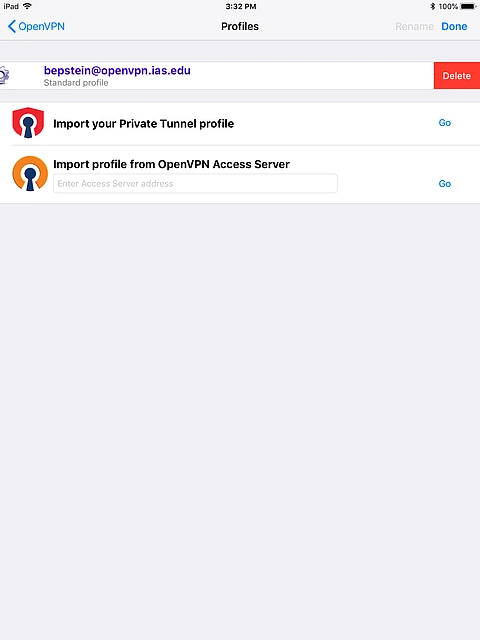
Open the OpenVPN app and click the right arrow to the right of the profile you wish to delete.
Click on the word "Delete" in the upper right hand corner of the screen.
Click the red circled minus sign on the left portion of the screen.
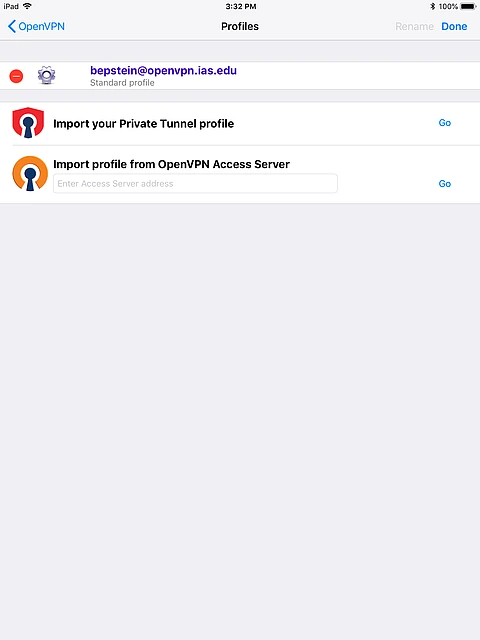
Click the red highlighted word "Delete" on the right hand portion of the screen.
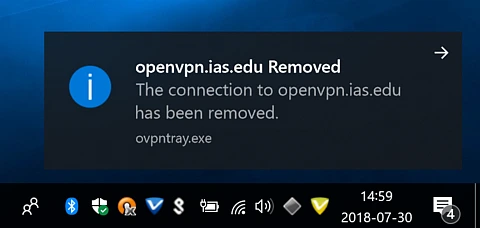
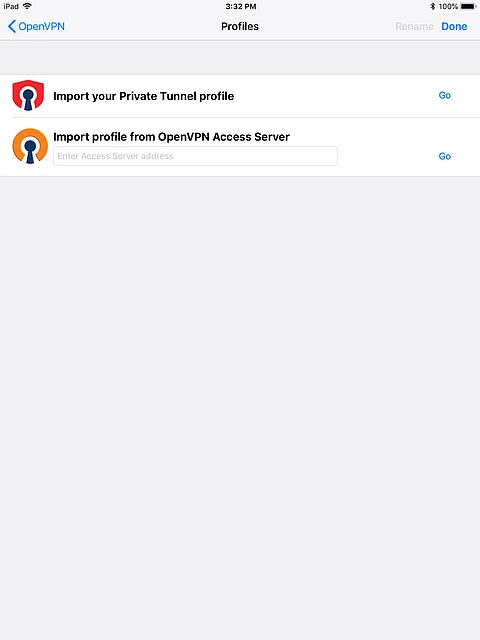
Verify that the profile is no longer present.
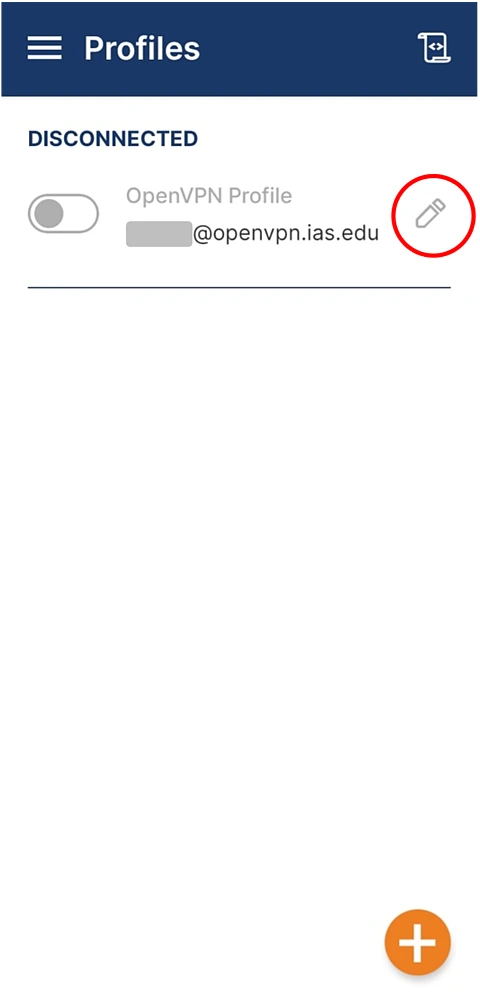
.pdf OpenVPN Profile Removal Instructions for Android
In the OpenVPN app, click the pencil symbol.
At the bottom of the screen, click “DELETE PROFILE.”

In the popup, select the “Yes” button.
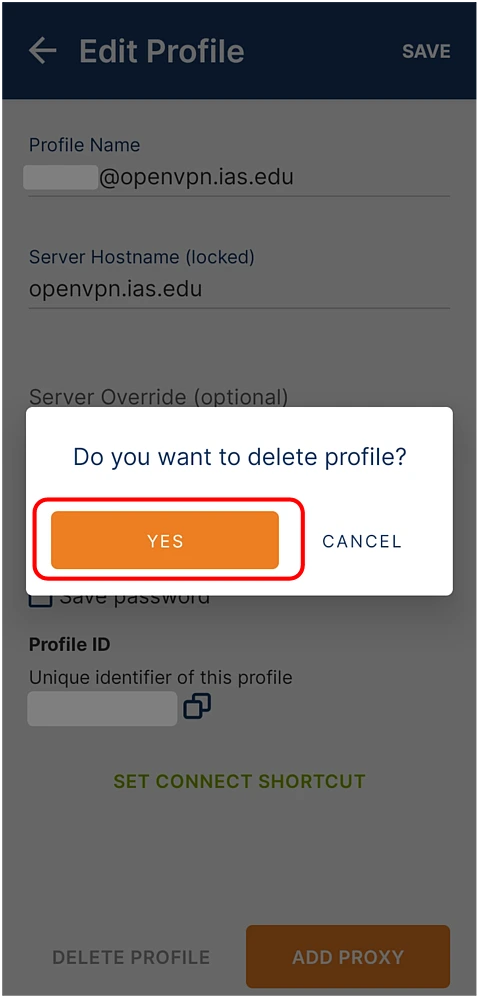
The app will bring you back to this screen. Your profile is now removed.