OpenVPN for Mac OS X Installation Guide
This document will guide you throught the installation process of OpenVPN for Mac OS X. For other operating systems, visit here.
Remote access requires the use of Multi-Factor Authentication. If you haven't set this up for your IAS account, please see our information page or contact the Computing Helpdesk for DuoSecurity before continuing.
With Safari, browse to https://openvpn.ias.edu
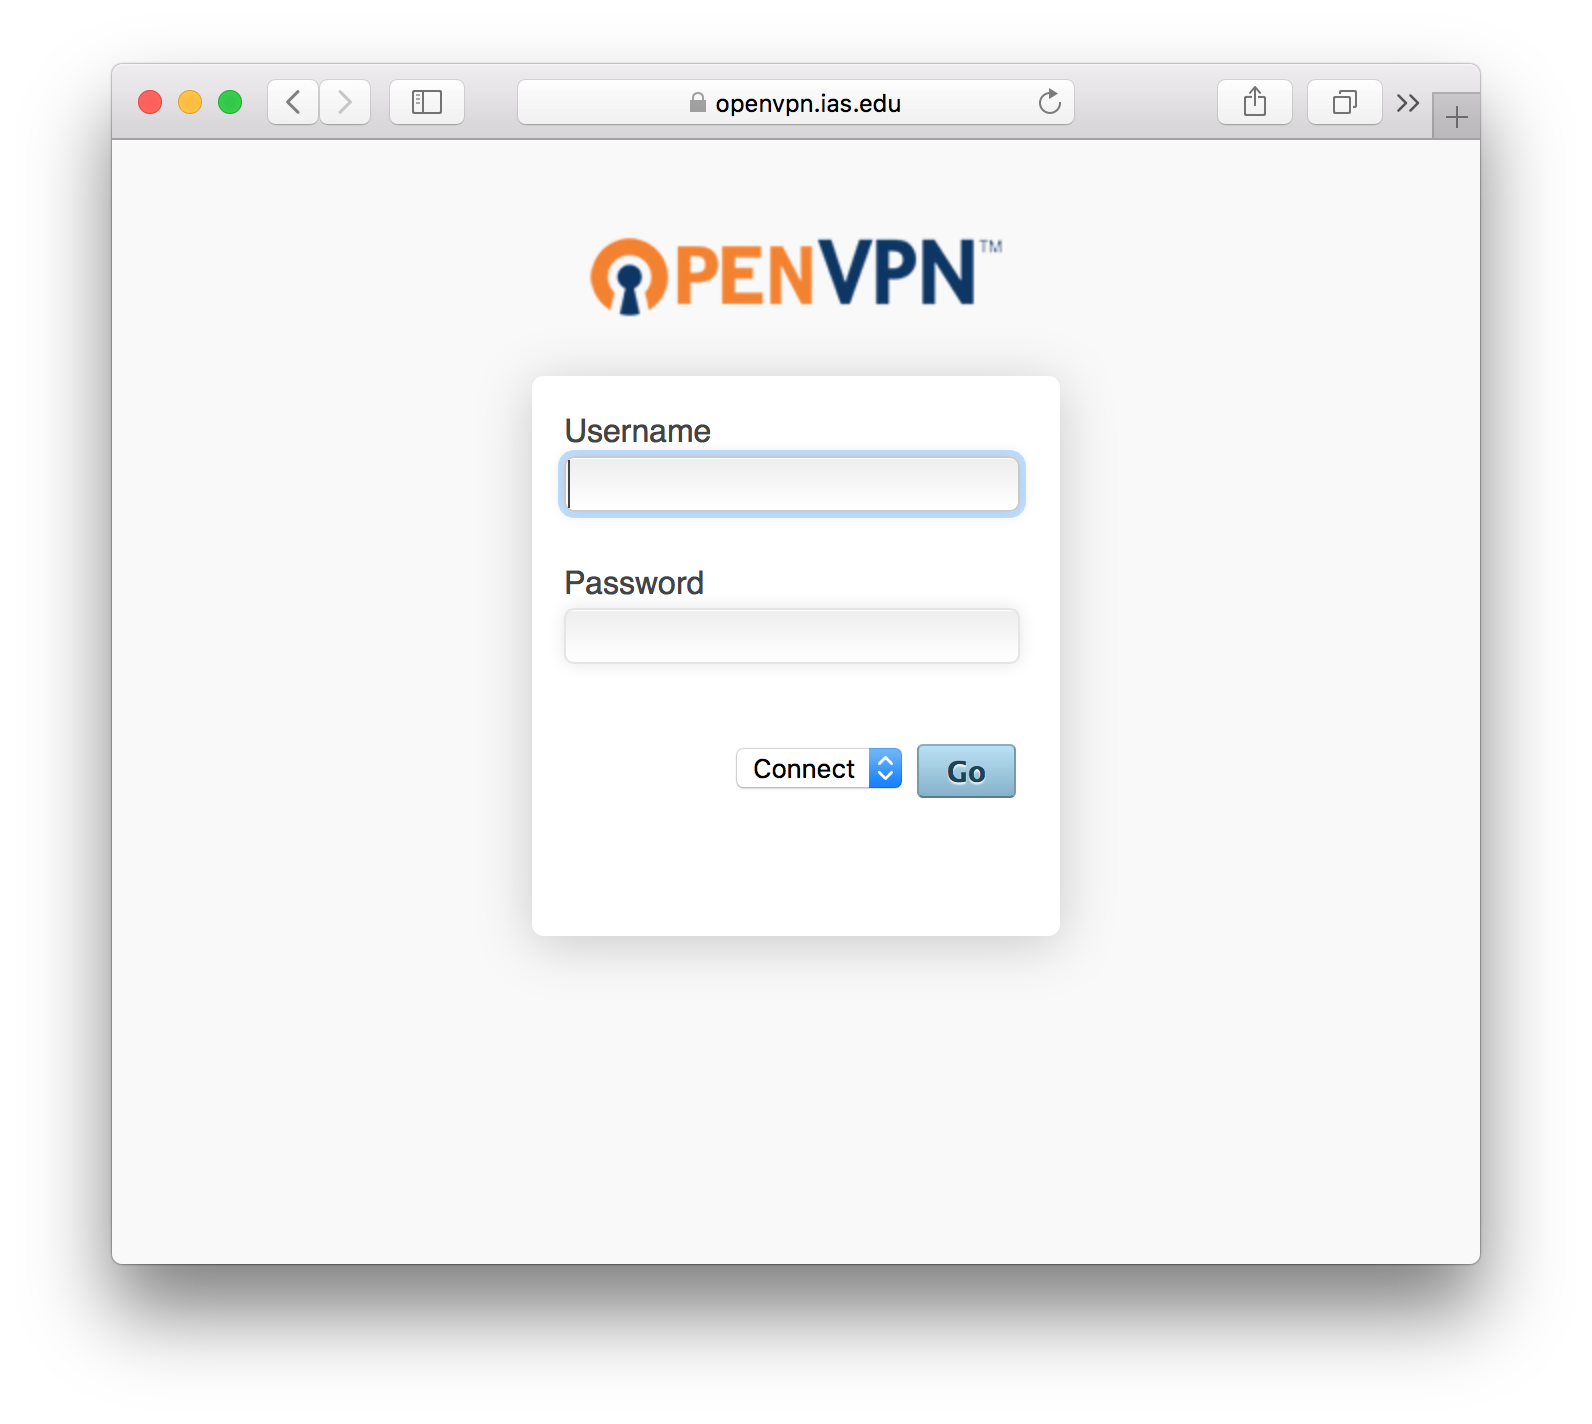
- Login with your IAS username and password, the website will download the client.
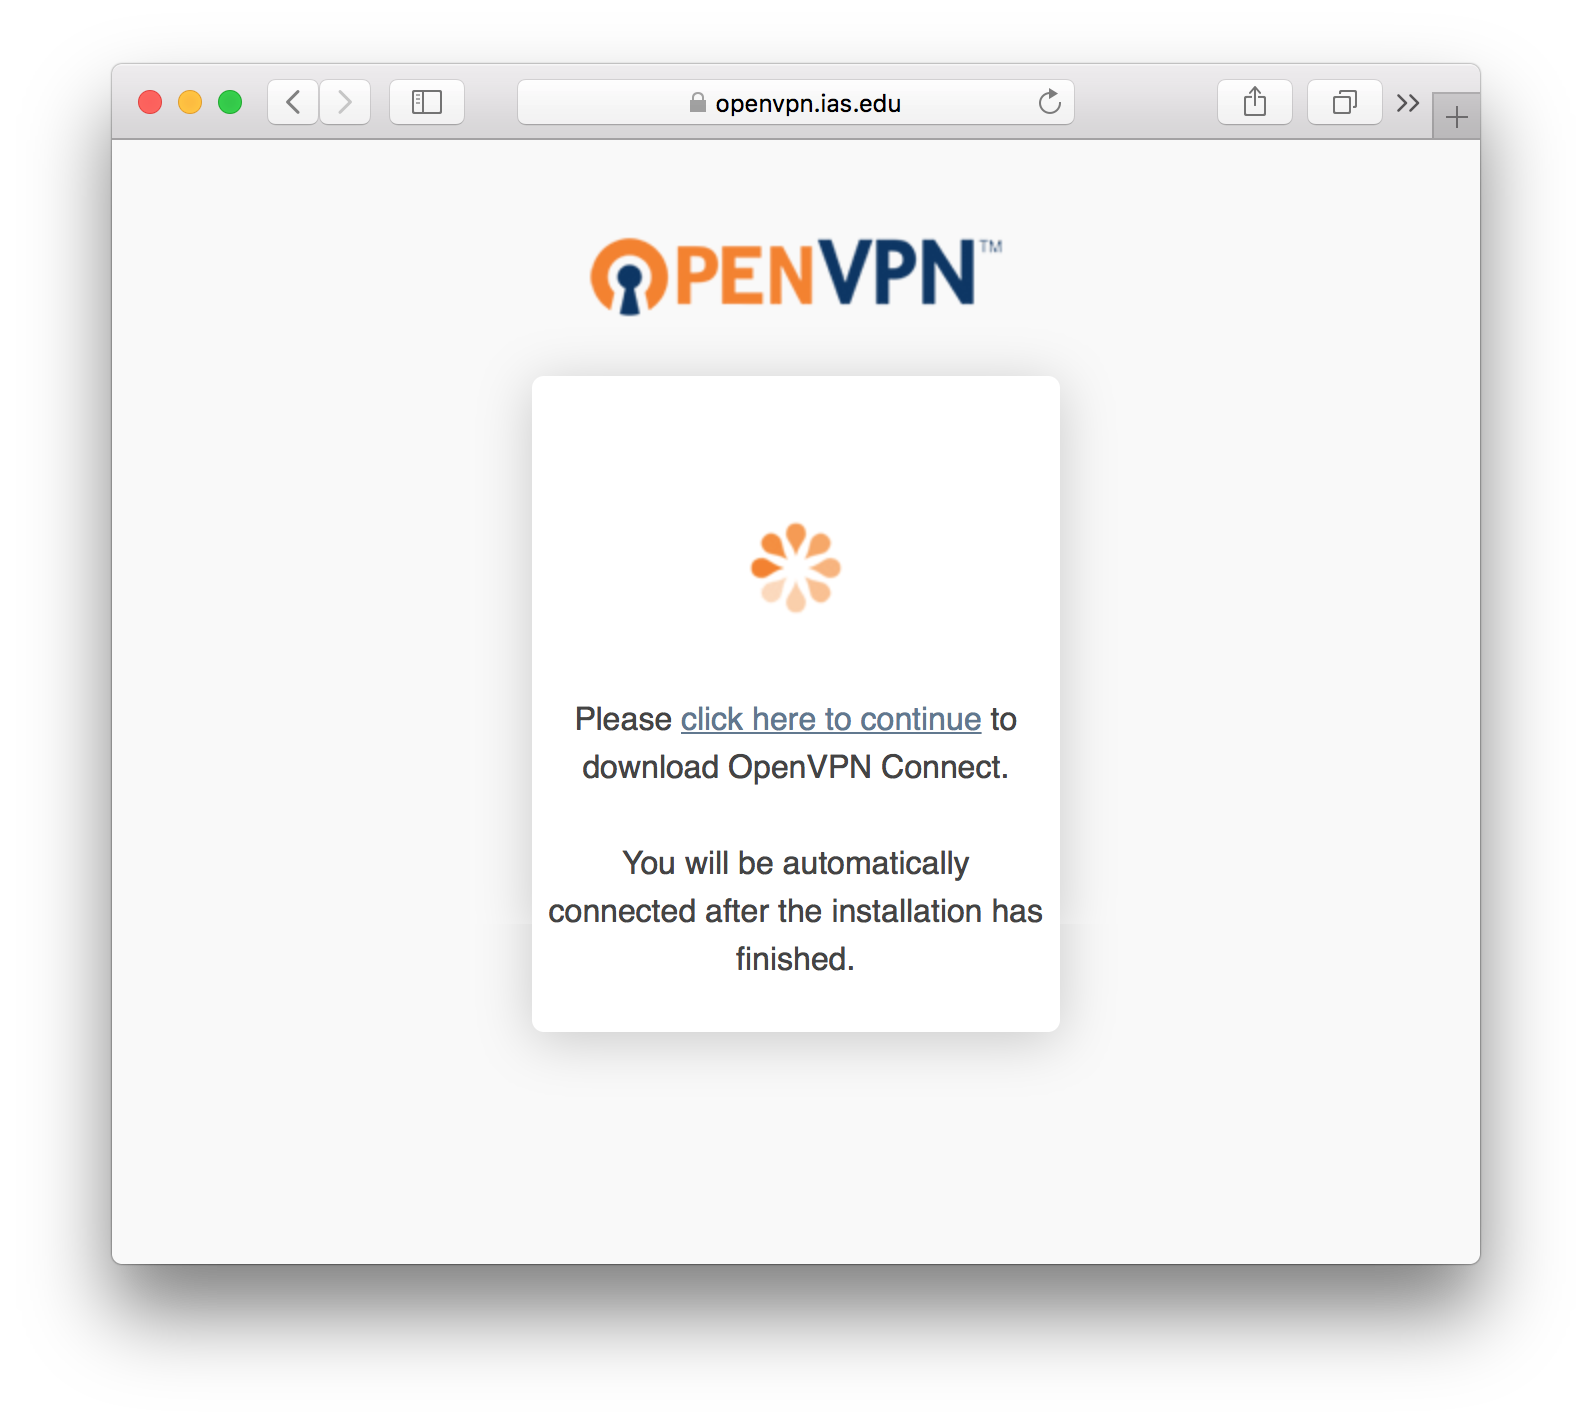
- Open the client installer from your Downloads

- Open the "OpenVPN Connect Installer.pkg" file.
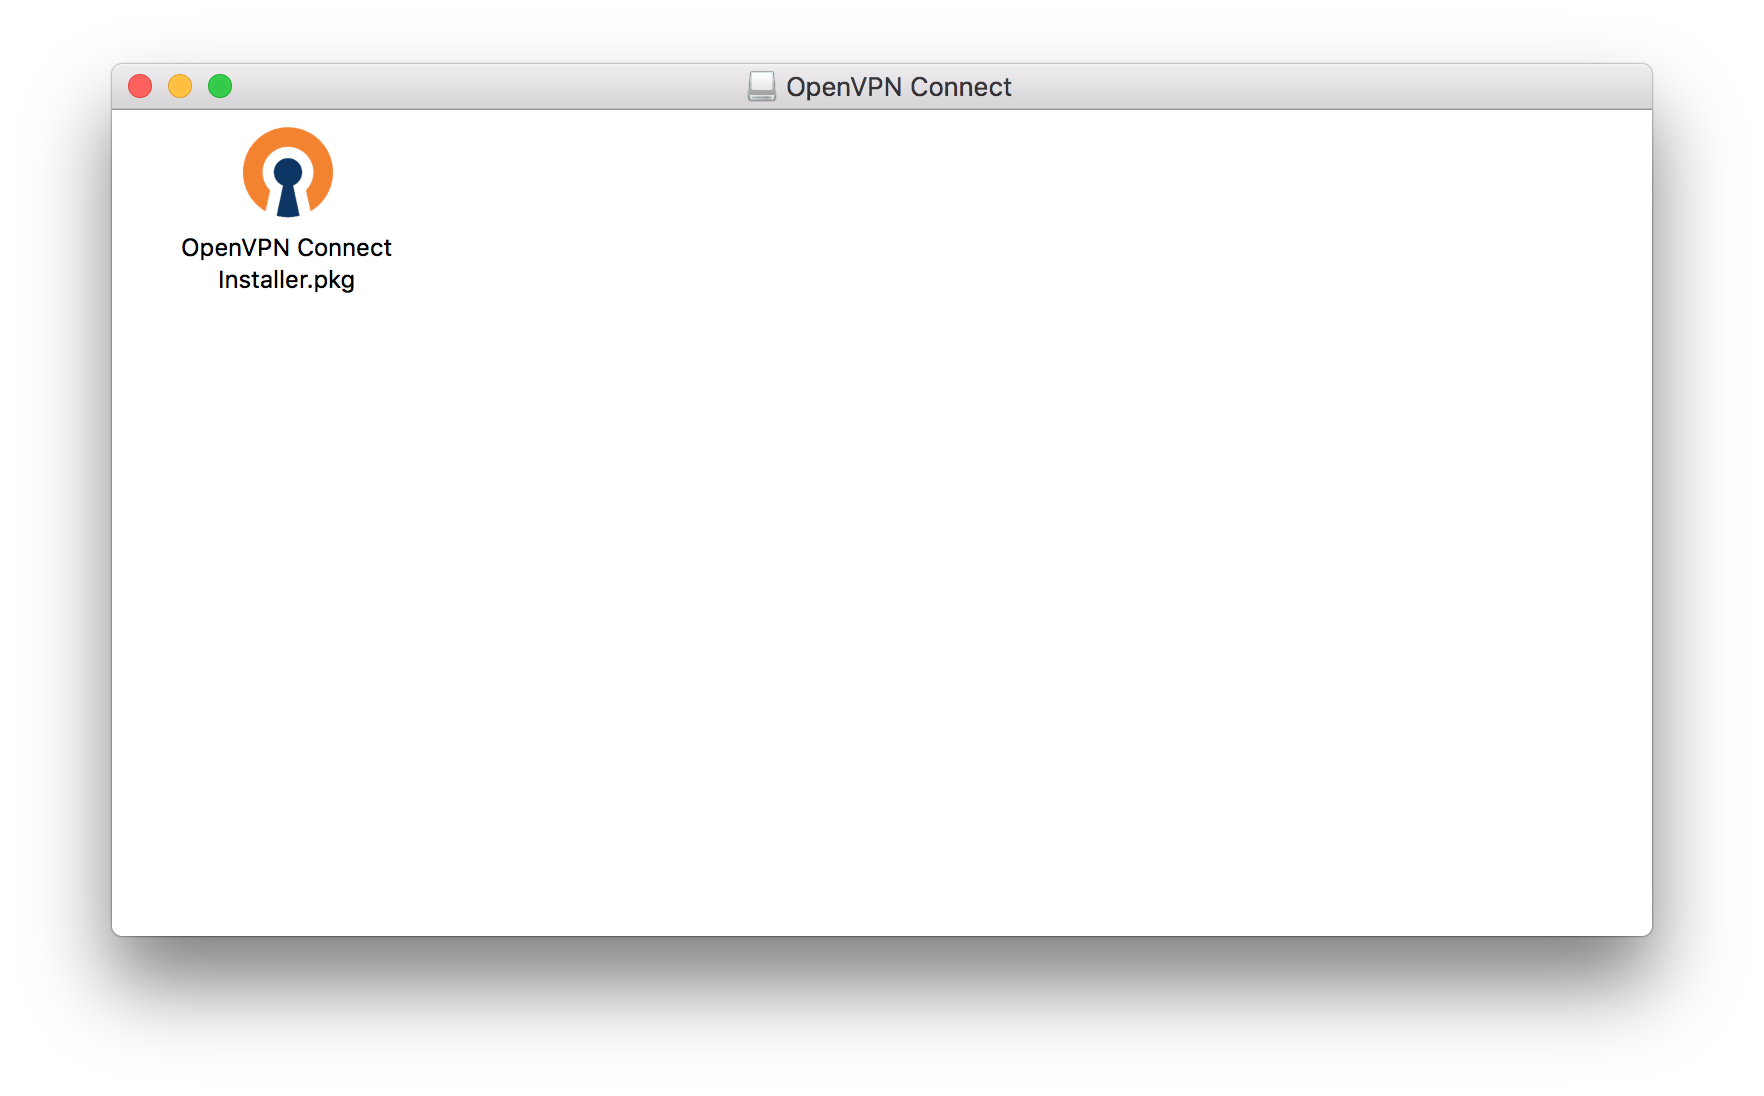
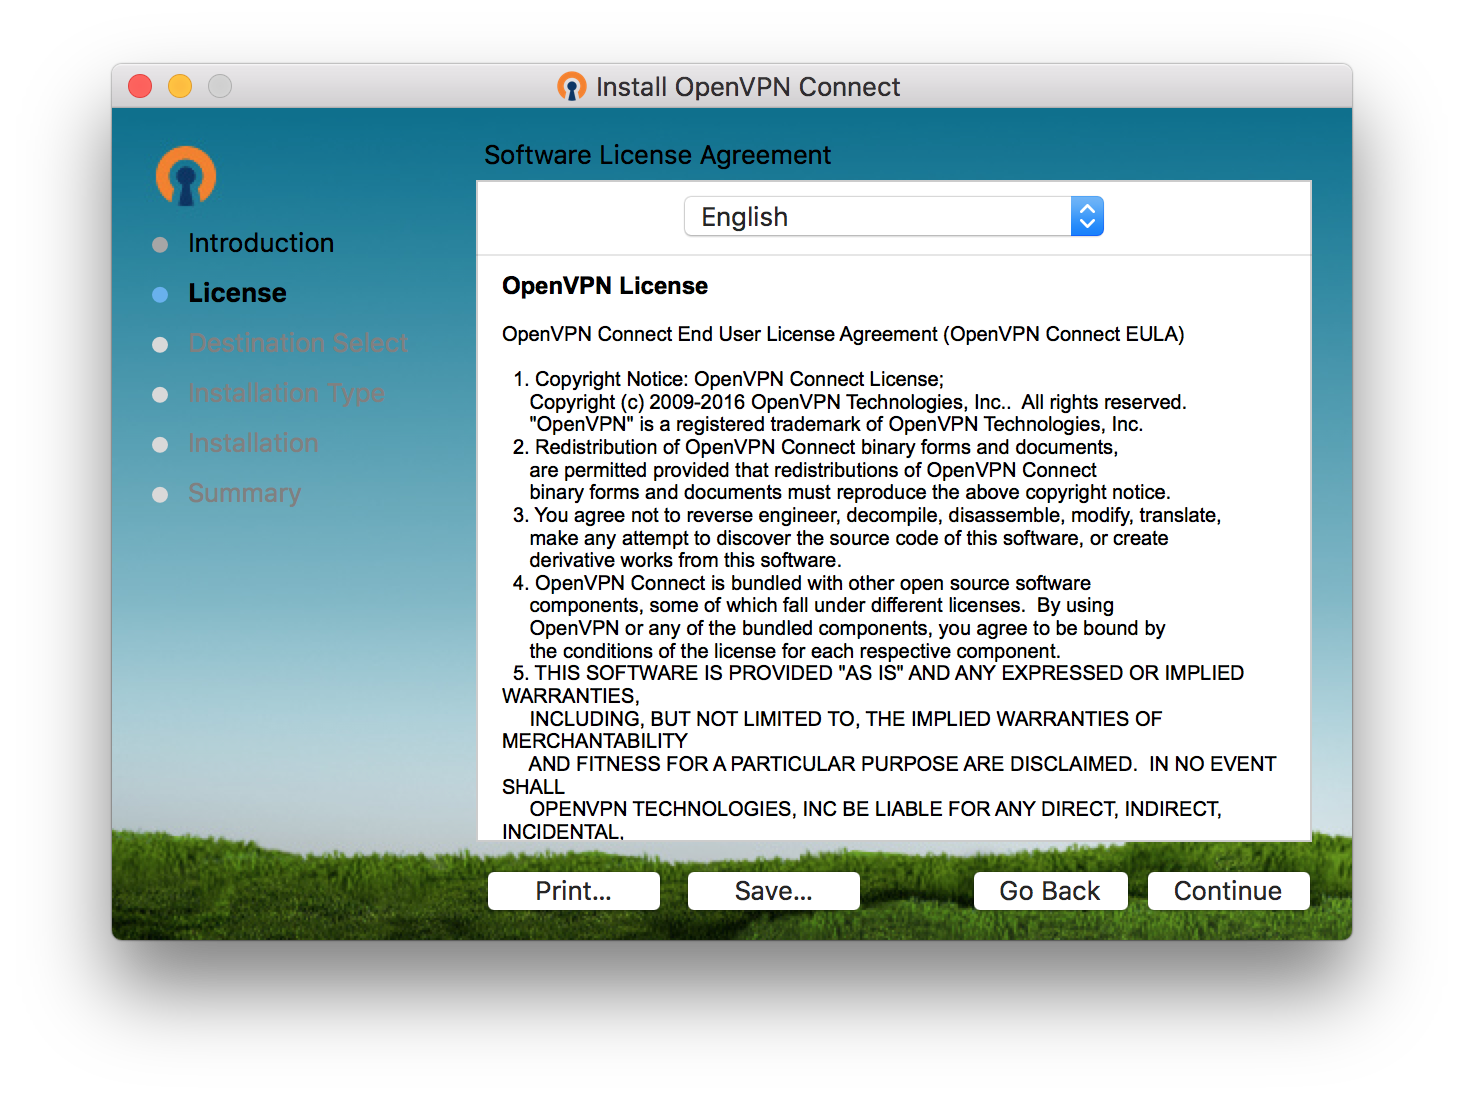
- The installer will open (possibly under your other open windows).
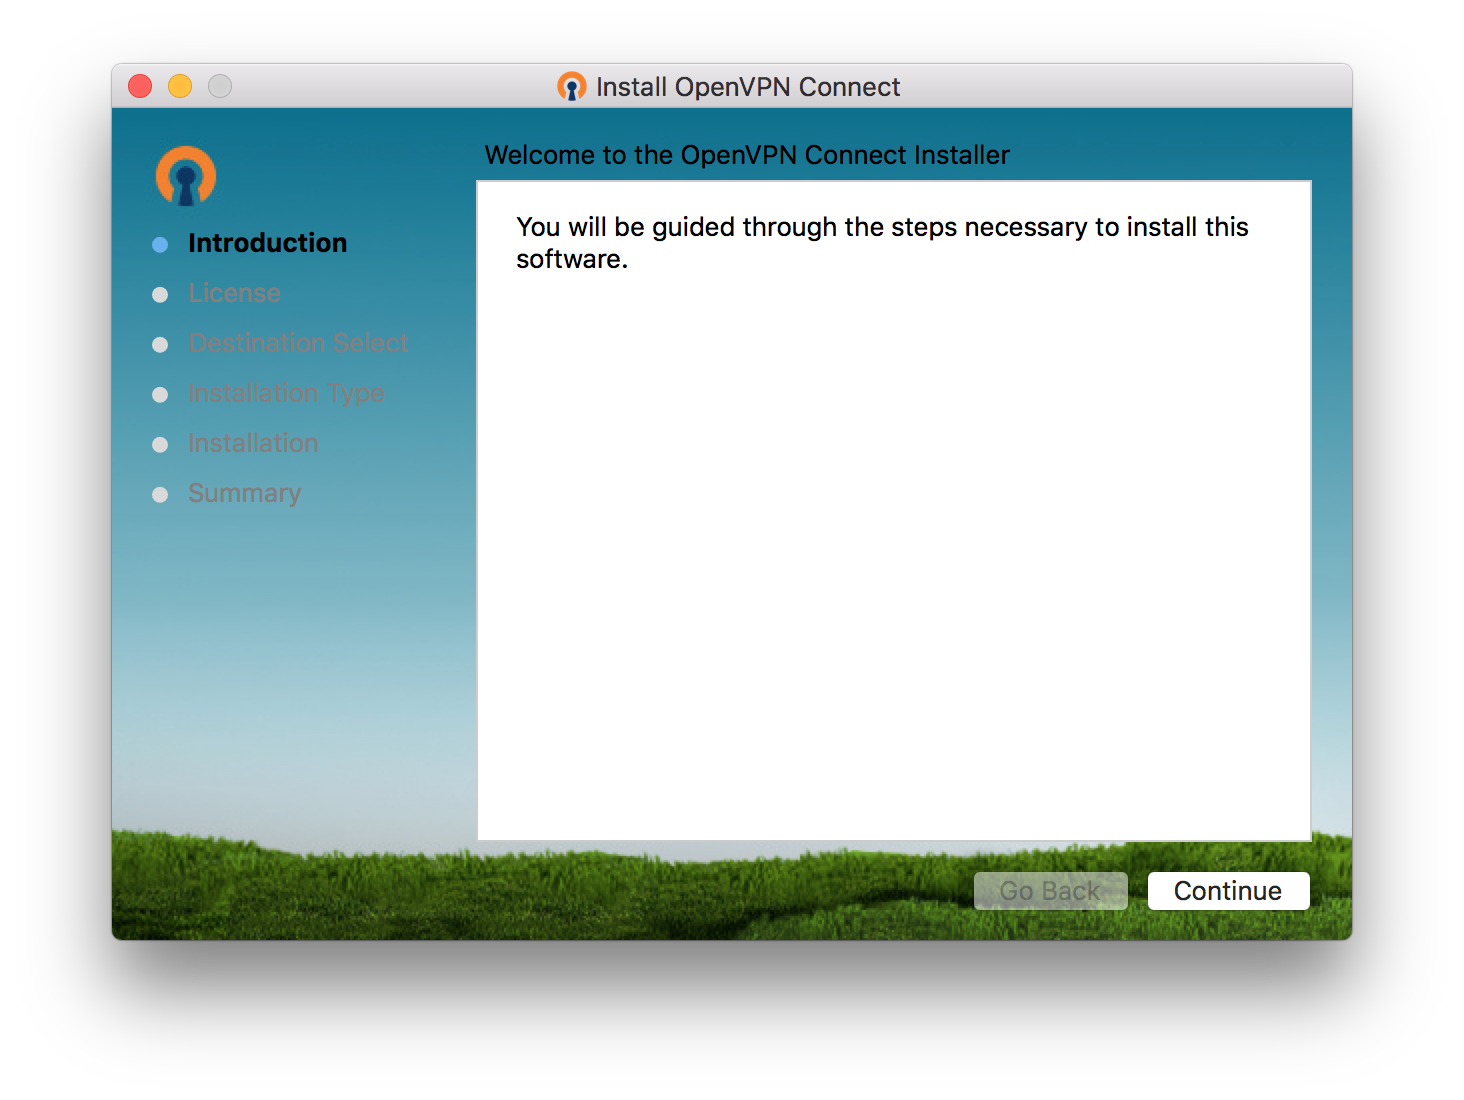
- In the installer, click "Continue".
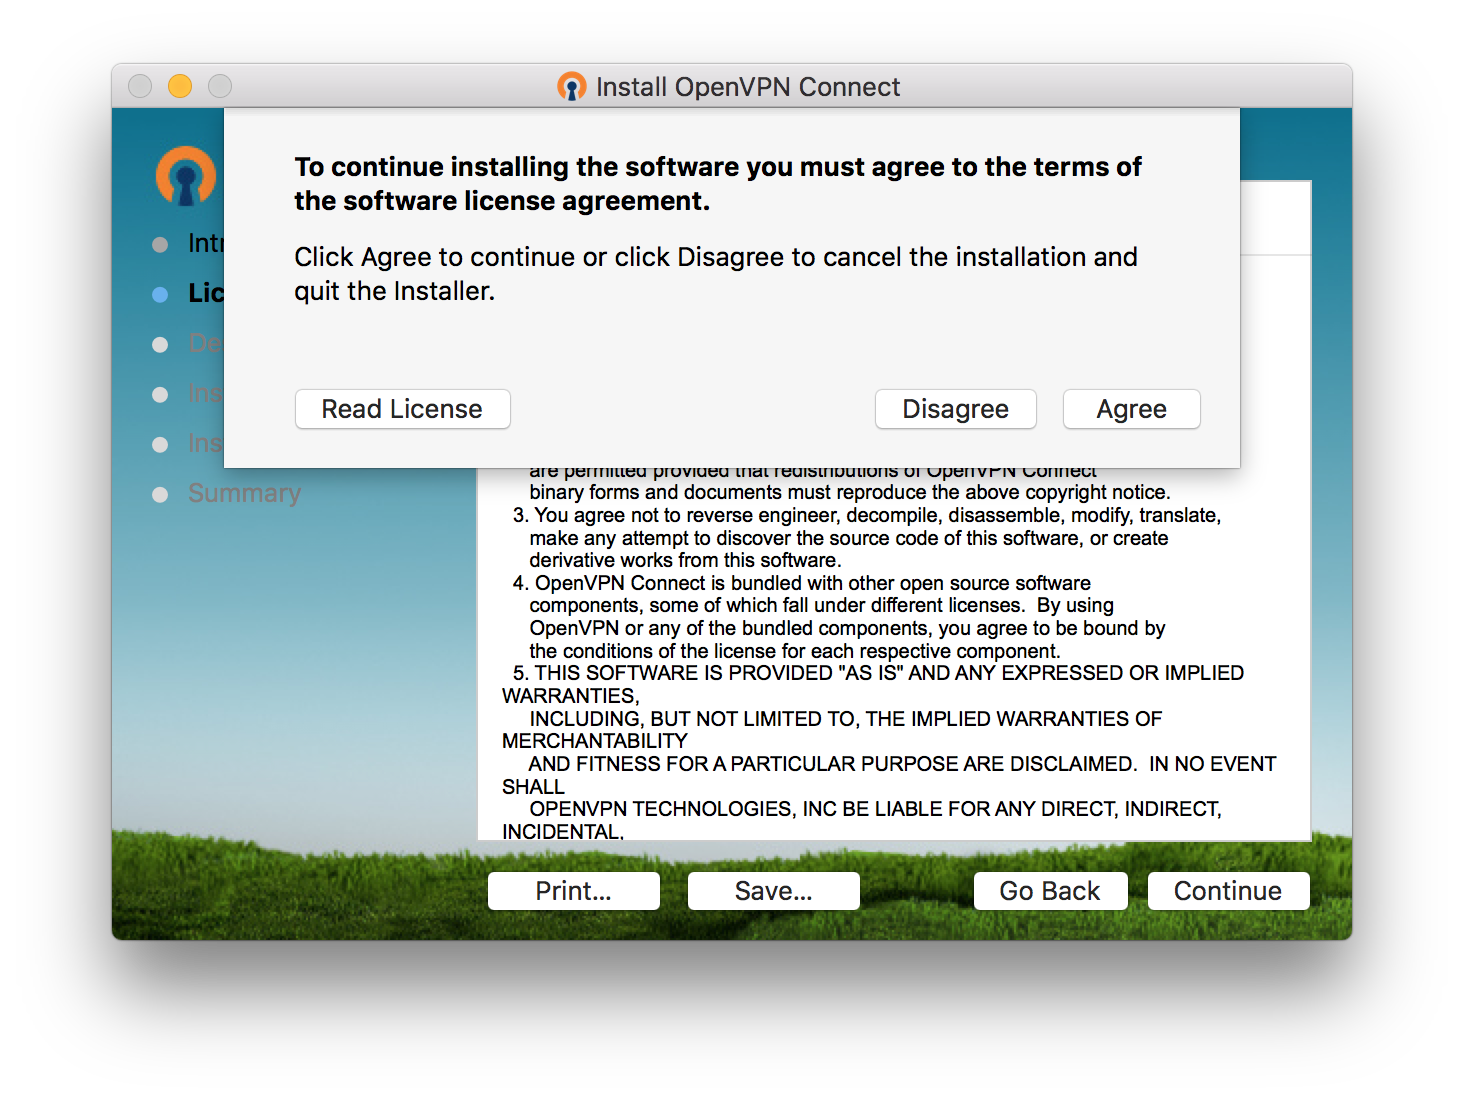
- To Continue, you must agree to the license. Click "Agree" if you do.
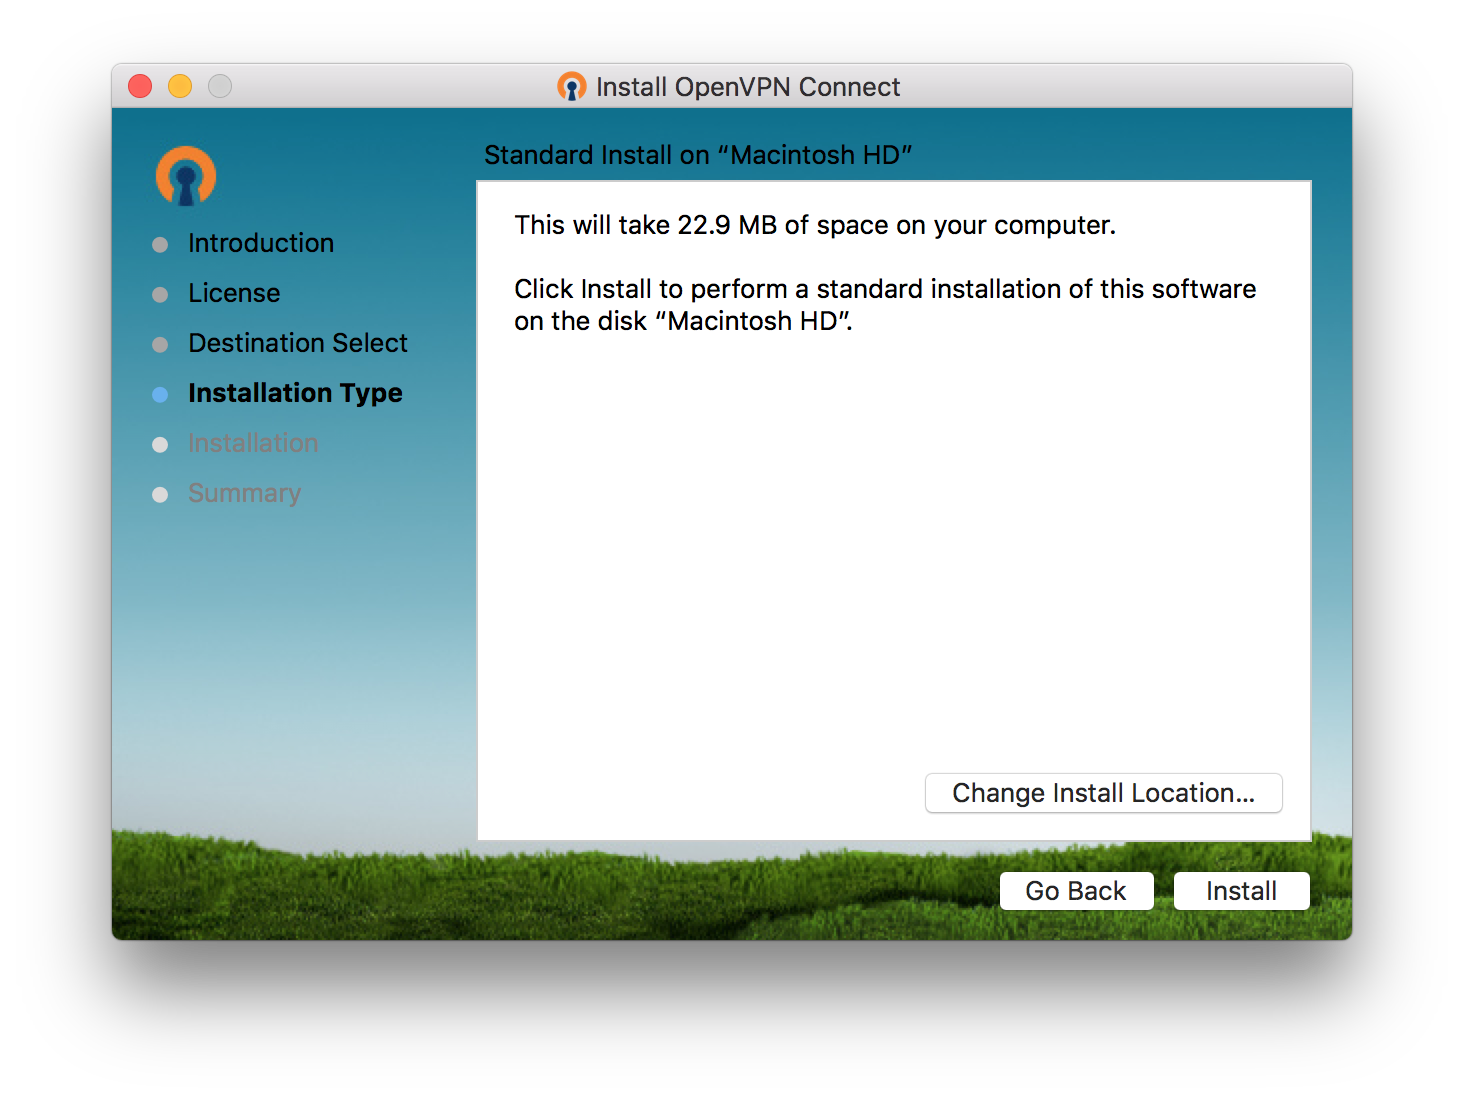
- Click install.
- You may be prompted to enter your administrator password to install the software.

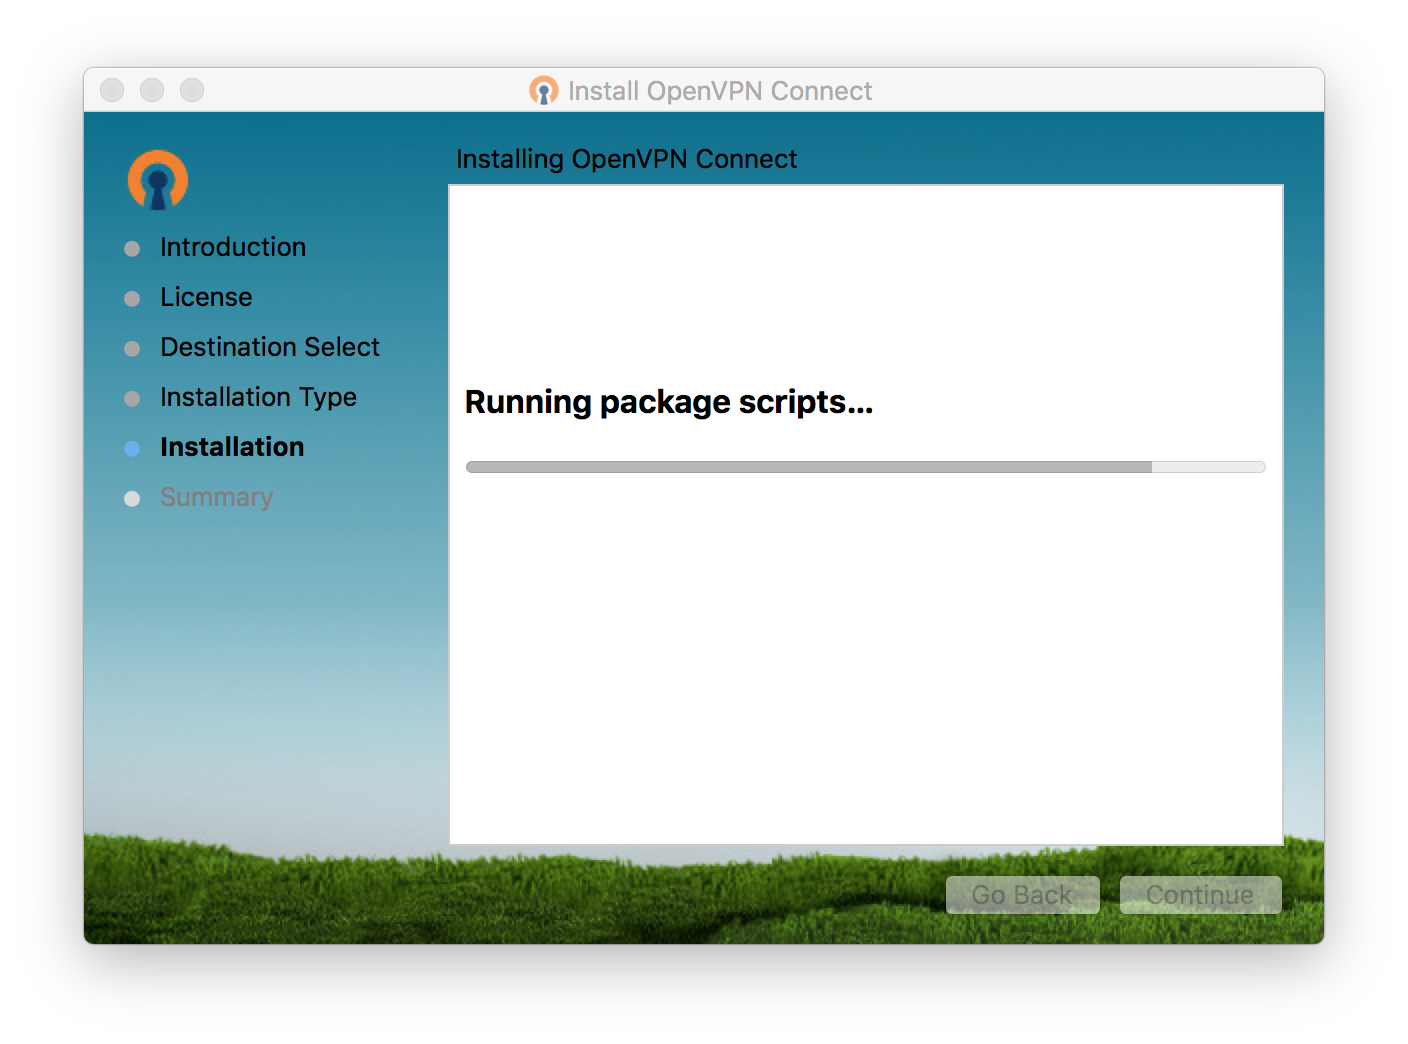
- The package should install.
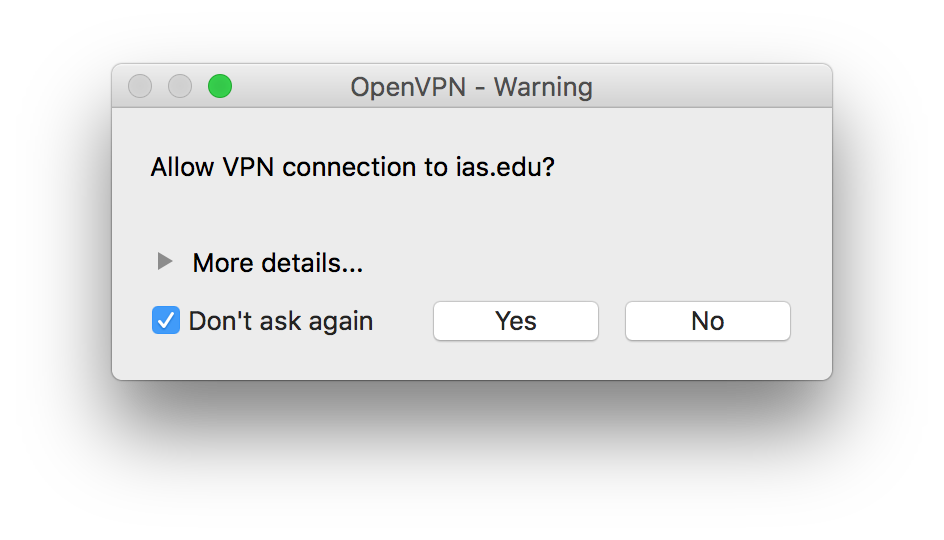
- After installation, OpenVPN will immediately try to connect, which requires your authorization.
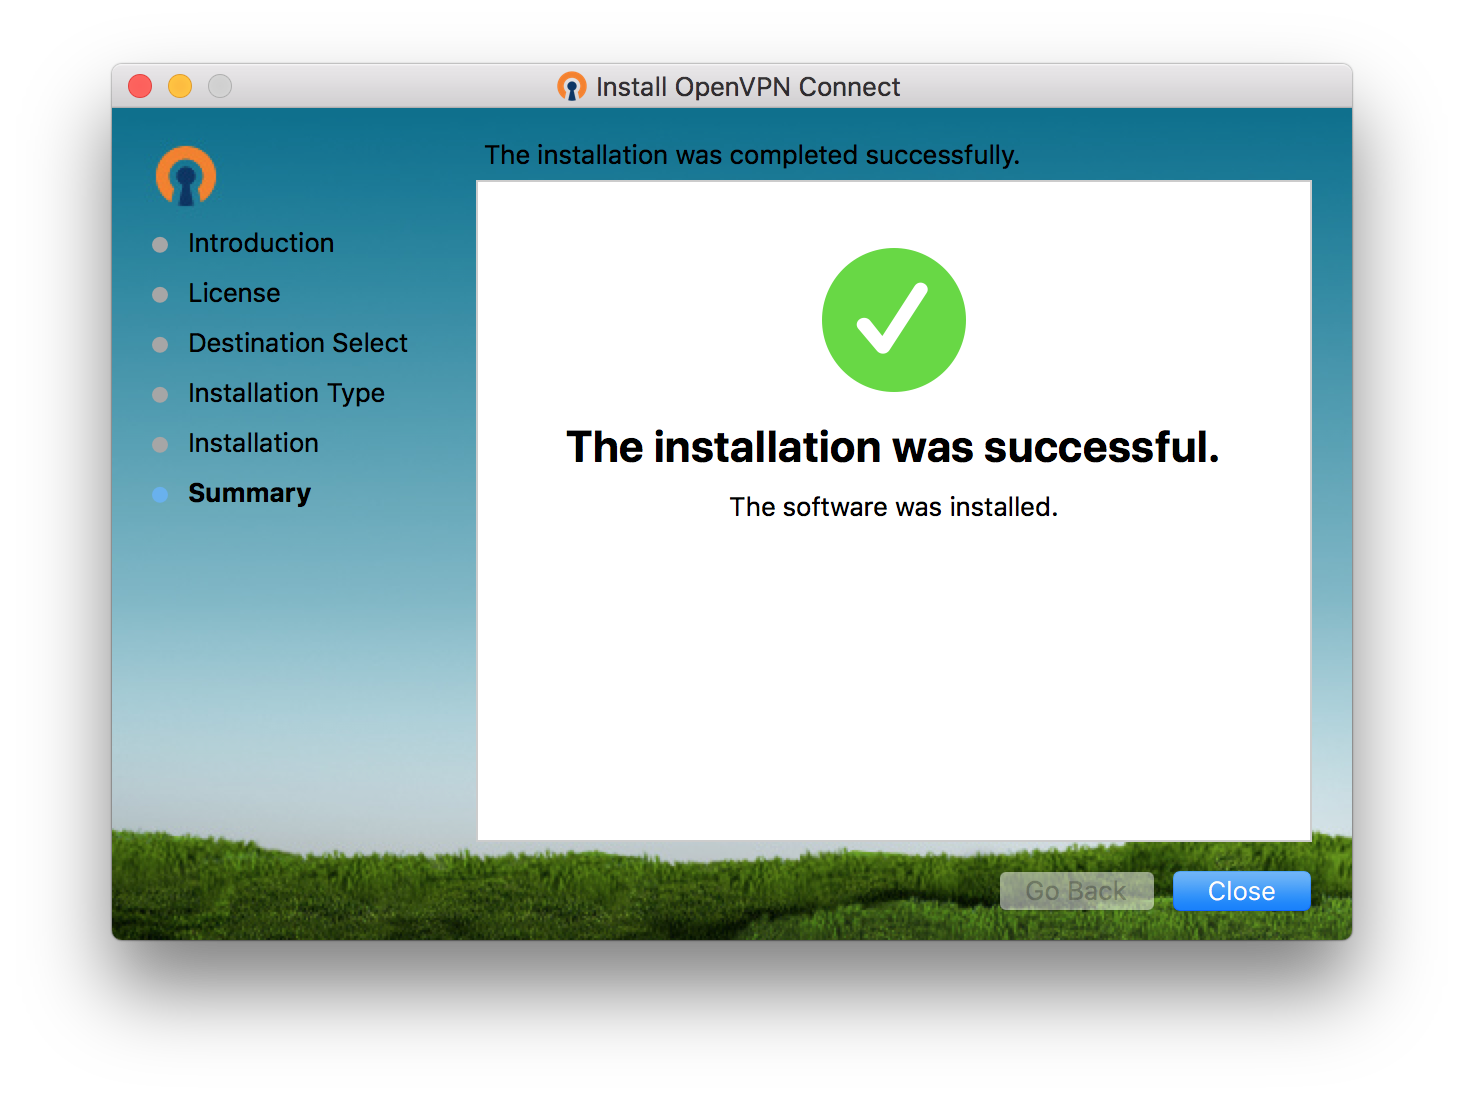
- Afterward, you should see a successful installation screen. Click "Close".
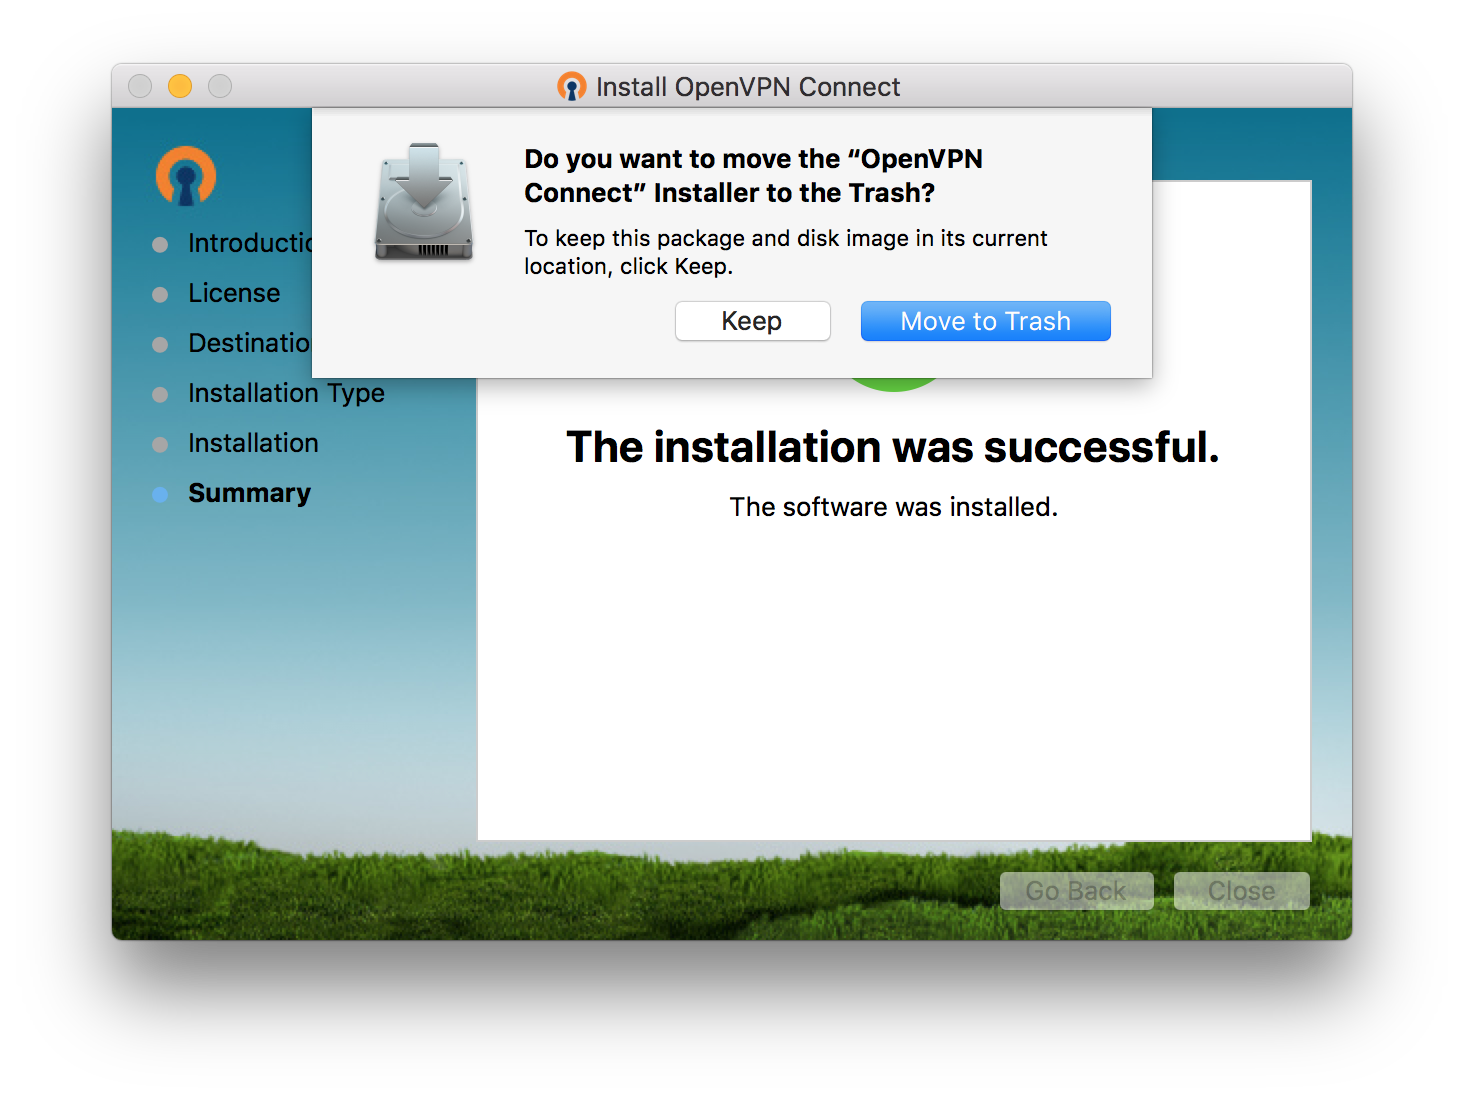
- You no longer need the installer, feel free to move it to the trash.
- Safari will now show that you are connected to the VPN.

- You will also notice an orange icon in your taskbar. You can control the VPN from there. If you want to disconnect, click the icon and then select disconnect.

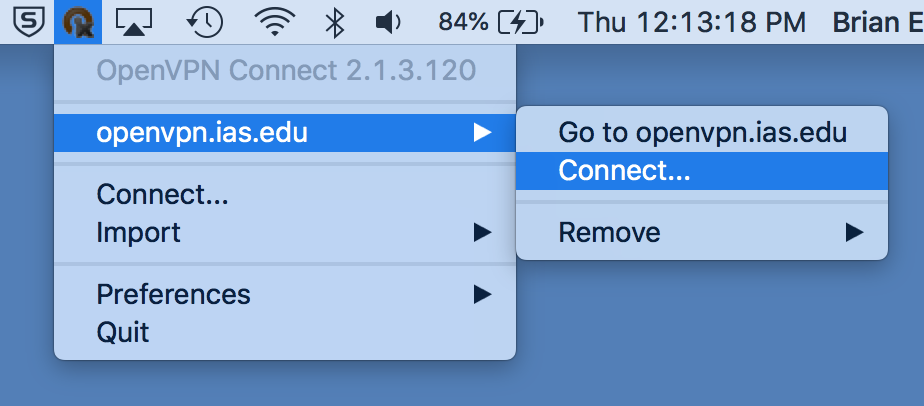
- The next time you wish to connect to the VPN, click the orange icon and then select "openvpn.ias.edu" and then select "Connect..."
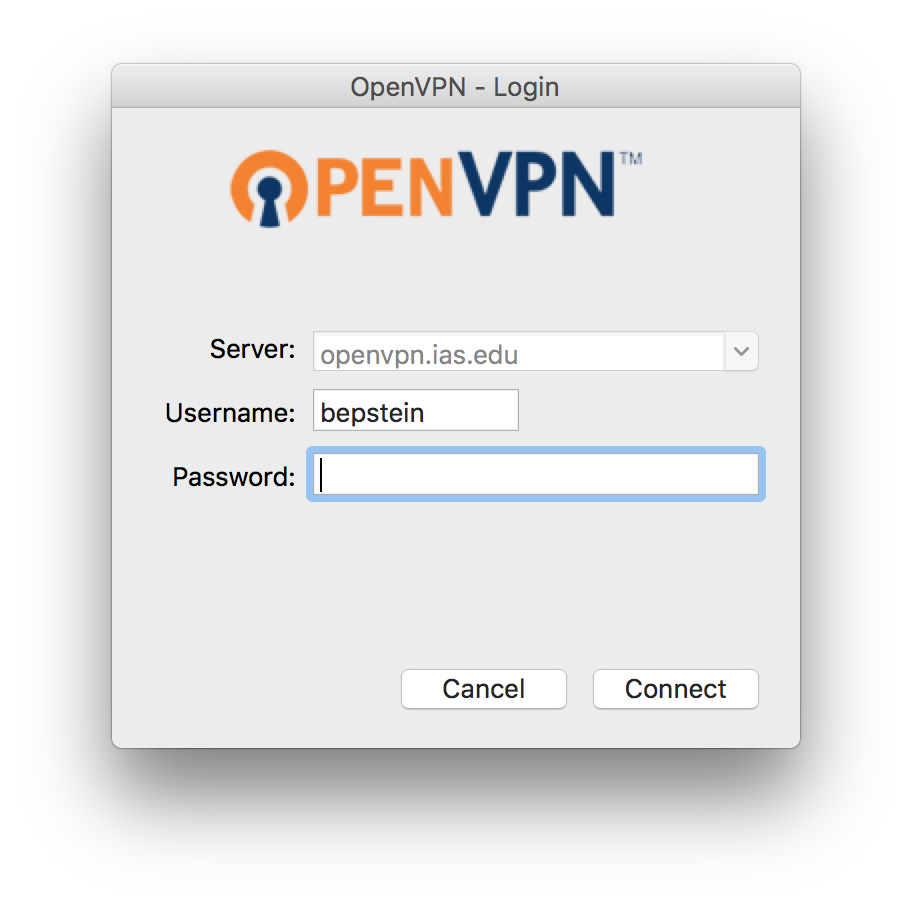
- You will be asked for your login credentials.
- When logged into the VPN, you'll see the orange icon in the taskbar with a green checkmark.